Kitesurfing is a dynamic looking sport that’s captivated onlookers since its inception. Colourful kites flying through the air with riders dangling beneath is a spectacle that’s for sure. Kitesurfing as it stands today is a very evolved discipline with all kinds of conditions ripe for kite action. Riders can make good use of flat water, waves, light breeze (ala foiling) and everything else in between. The great news is for anyone wanting epic GoPro/Insta360 kitesurfing pics Flymount produces two kite specific action cam mounts for the task at hand. Here’s how to snap great GoPro/Insta360 action cam images with Flymount.
Topics in this article include –
Fixing your Flymount kitesurfing mount in place.
The Flymount kitesurf GoPro/Insta360 action camera kiteboard mount is primarily designed to work with twin tip style kite sleds. Utilising the board’s fin screw inserts the Flymount bolts in place securely. Unlike 3M sticky mounts, there’s additional security that’ll keep your action camera in place.
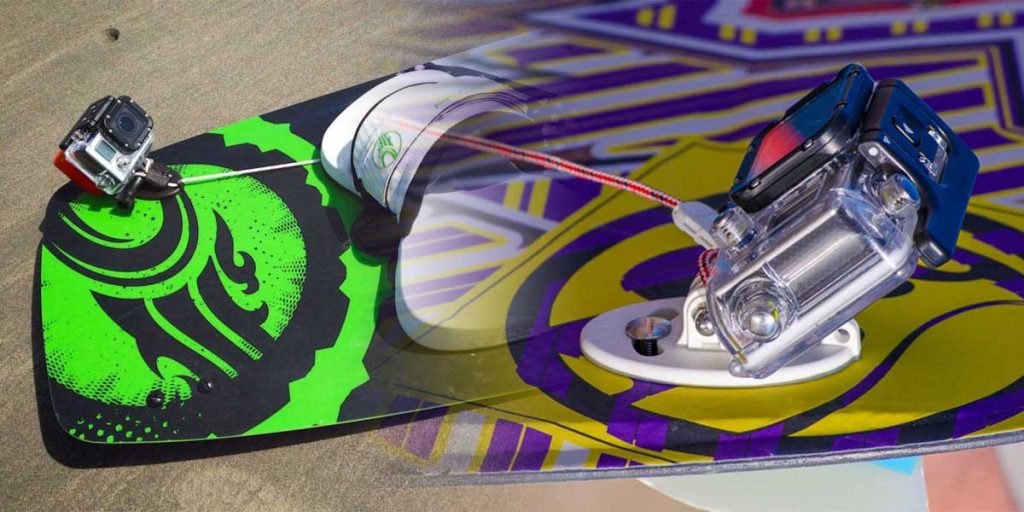
Designed with the ability to change flat curve angles Flymount’s kitesurfing GoPro/Insta360 action mount also has a security safety leash that secures to footstraps or bindings. The only thing riders need to be aware of is using longer bolts as the mount acts like a spacer. You’ll need to source appropriate length bolts to ensure the mount and fins sit in place with a snug fit. As all kiters will know board thicknesses can differ.
Setting up for the right shot.
Being able to alter the Flymount kiteboard mount’s angle and action cam angle means riders will need to experiment a little at first. ‘Learning’ how to use your kitesurfing mount and action cam is standard practice. After a few runs, however, you’ll become familiar with the best angle.
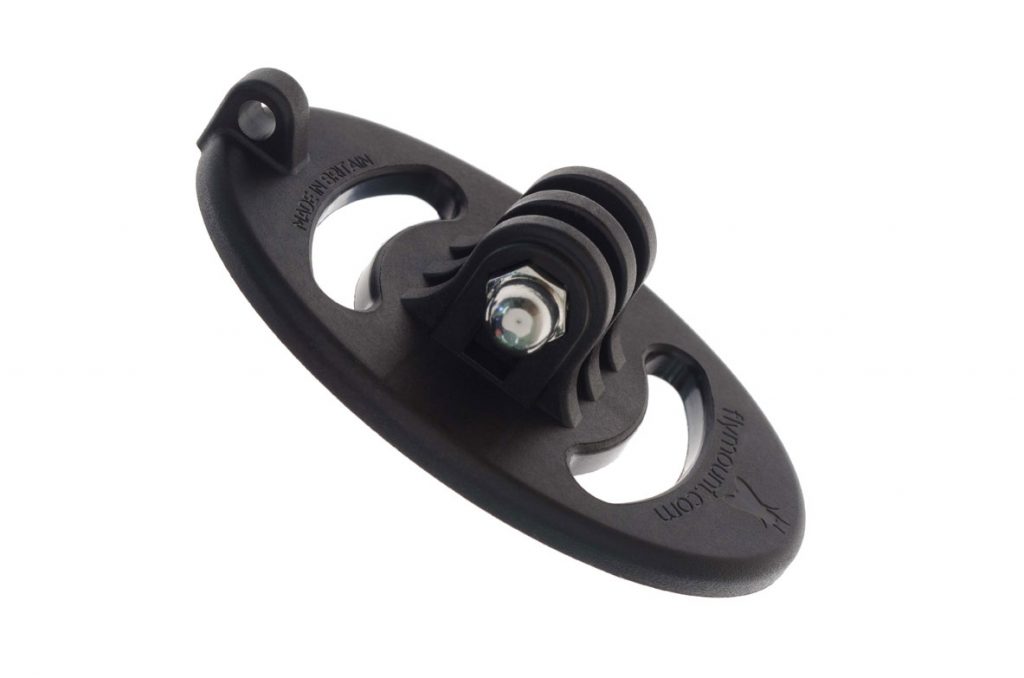
Kiteboard Mount for Action Cameras
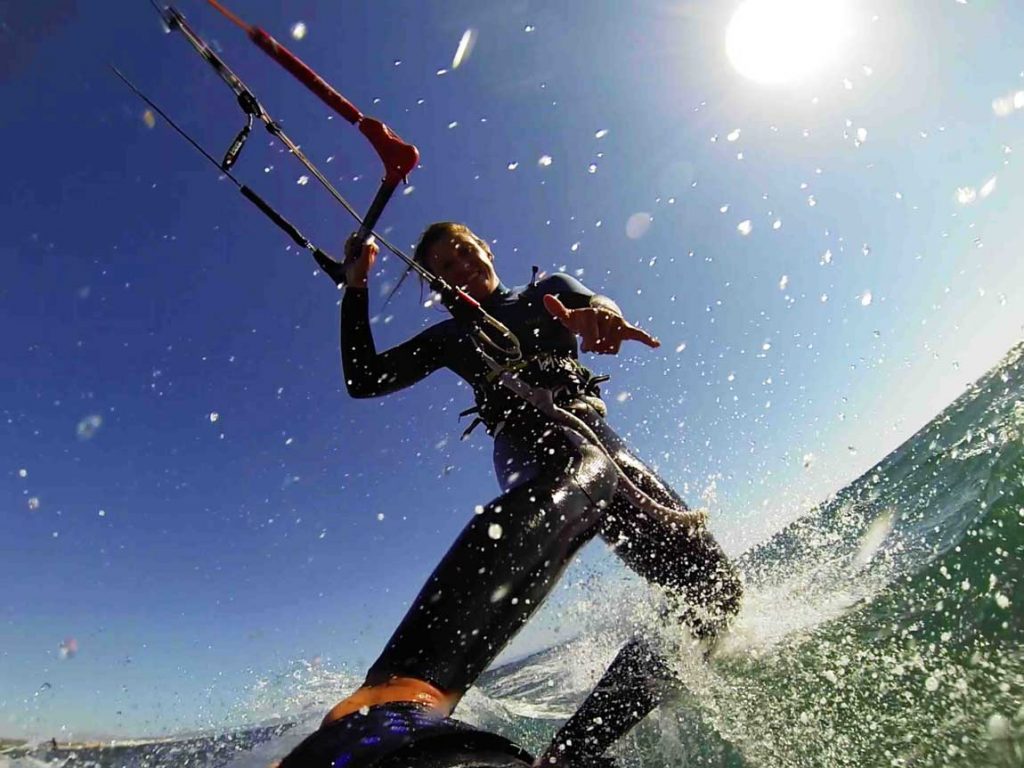
Too low and photos of rider knees are the most common end result. Too high and it’ll be the kitesurfer’s head and kit in shot only. Playing about with setting always leads to best results. Experiment and you’ll discover the best angles for the most dynamic and epic kiteboarding images.
Action safety leash – use it or lose it!
One thing we will reiterate (as we do with all Flymount action cam mounts) is to use the included kitesurf safety leash. This will keep your GoPro/Insta360 camera from disappearing to the depths. Whilst Flymount puts lots of time and effort into making our products as durable and robust as possible things do sometimes happen.
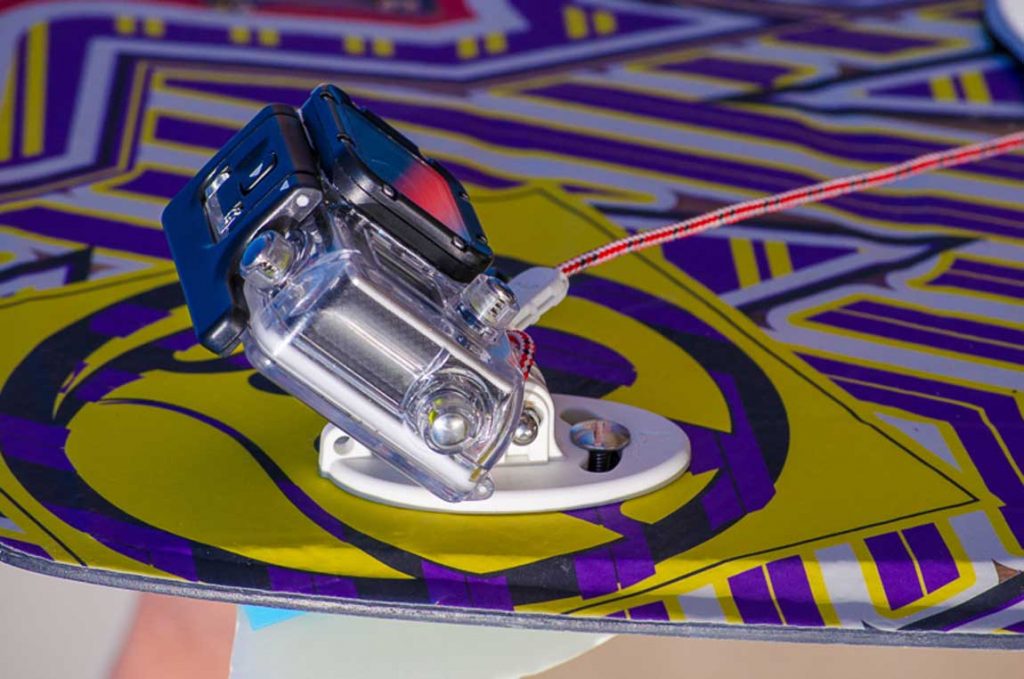
Along with using the right length bolt to secure the kitesurfing mount (relative to your setup) the safety leash line gives further peace of mind. You’ll be able to ride to your fullest capability rather than backing off the gas. After all, conservative kiting won’t lead to the best kiteboarding imagery.
How to shoot your kitesurfing with Flymount’s board mount.
Having spent a little time discovering which angles are best suited to your riding it’s time to up the ante in terms of nailing those epic kitesurf shots. The first thing to consider to really bring home the bacon is the weather. GoPro and Insta360 action cams don’t always like low light conditions. And rain can be problematic with annoying water blobs obscuring the action. Always aim for brighter or sunny kiteboarding days. Your pics will benefit massively from it. Of course, we appreciate Mother Nature doesn’t always play ball though.
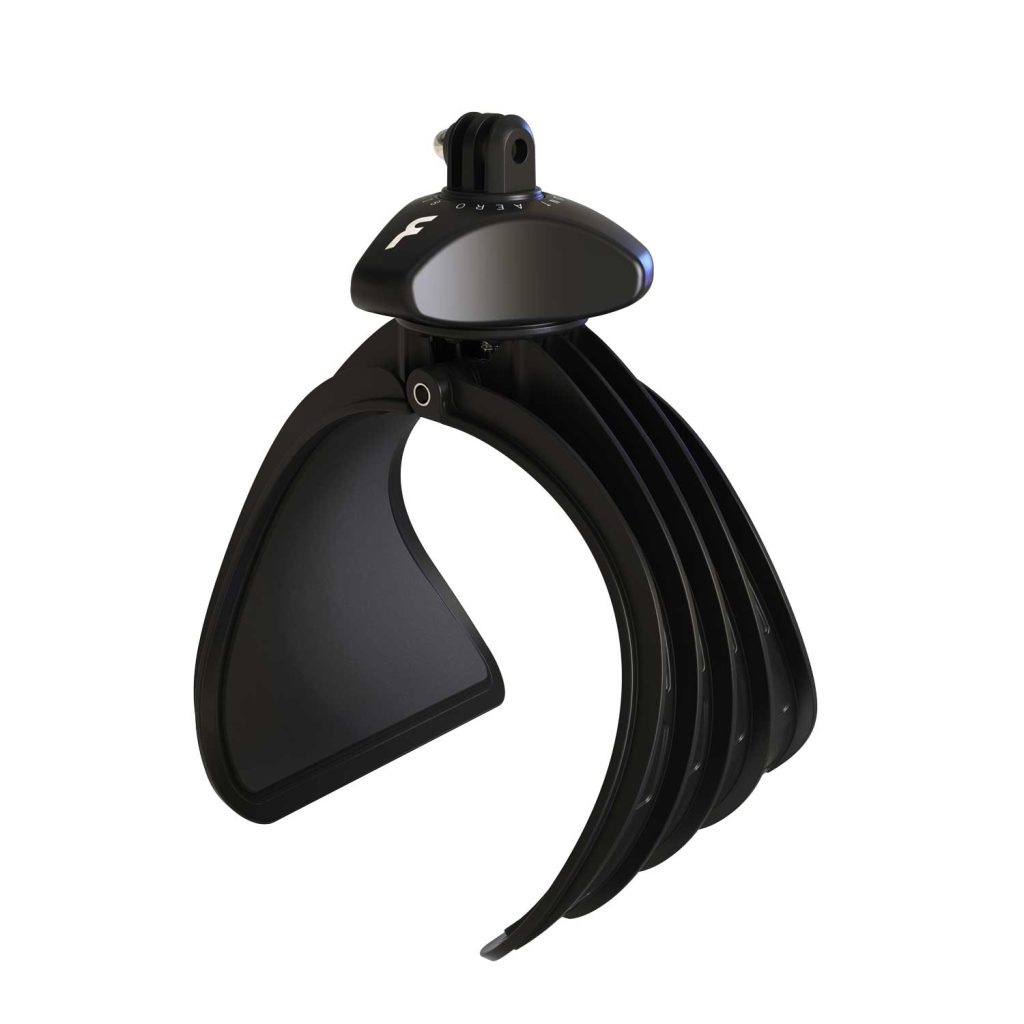
Flymount Aero-130 Ultralight Wing and Kite Camera Mount
Make sure your action cam is fully charged and you have enough storage space. Setting your cam to time lapse mode (at 1 second intervals) is best practice. That will lead to a whole load of photos you’ll need to wade through post-session. But this is better than missing the action completely. To capture the best images kiteboarders need to ride dynamically – almost override in fact. Stick with tricks and movies you know you have on lock and then exaggerate those movements. This may lead to a few comedy wipeouts at first but your pictures will be all the better for it in the long run.
Flymount kitesurf action cam checklist.
Here’s a checklist to make sure you’re all prepared prior to heading on the water for your Flymount action cam shooting session –
- Ensure your GoPro or Insta360 action camera is fully charged.
- If snapping pics, set functionality to time lapse mode at 1 second intervals.
- Make sure you have enough storage space for a solid session.
- Time your shoot with good weather – ideally blue skies, sunshine and plenty of wind.
- Use the Flymount safety leash provided for action camera safety.
- Check your Flymount bolts – be certain they’re tight and well fitted.
- Ride as dynamically as possible to stomp those epic shots.
But it doesn’t stop there.
So far we’ve been talking about kiteboard action cam shots with regards to Flymount’s kiteboard mount. But we also offer another different option. And one that delivers a completely unique angle for kitesurfing images. The Aero 130 wing and kite mount was designed with both wing foiling and kitesurfing in mind. Its unique clamping system – which attaches to both an inflatable wing and kite strut – elevates your GoPro/Insta360 to deliver downward point of view shots.
We created the Aero 130 with a mindful eye on weight. The last thing we wanted to do was add unnecessary weight to a wing or kite. But equally, we wanted the mount to be durable and robust. Again, utilising the included safety line leash will see your action camera not be lost to Davy Jones’ locker. Riding dynamically and with all the above best practices in mind will then see some awesome kitesurf images captured.
Top tip: for anyone owning multiple action cams and both the board mount and Aero 130 you could utilise both and capture shots from dual angles. This can add even more perspective to your kitesurfing session. Although it will mean you’ll have double the amount of photos to go through and edit. A small price to pay, however…
Summing up the kiteboard shooting experience with Flymount.
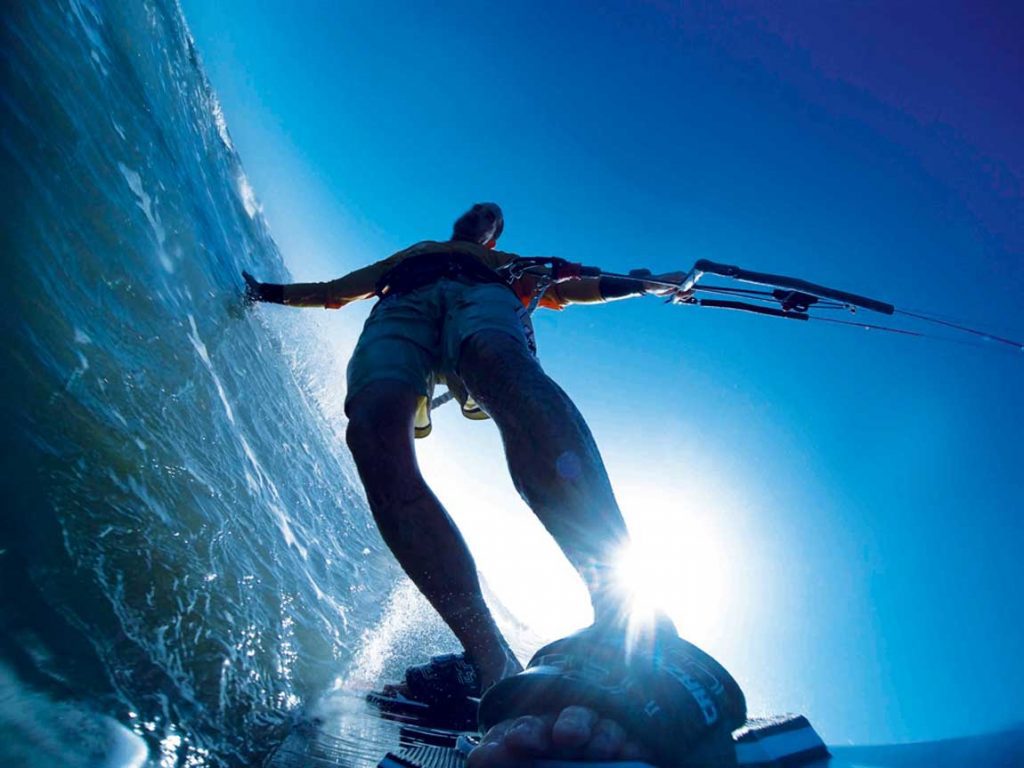
Kitesurf action cam shots can be epic if you use the right ‘tools’ for the job. In tandem with a decent action camera – such as GoPro or Insta360 – Flymount’s kiteboard mount or Aero 130 (or both!) will allow riders to nail those amazing images. After a few sessions, you’ll ‘learn’ how to use your setup effectively and we’re pretty sure the results will be fantastic.
Check out more Flymount products in the online shop here. And for additional articles and knowledge head here.

Recent Comments