Paddle boarding has been a growth watersport in the last few years. Arguably one of the easiest watersports to access paddle boarding doesn’t require specific conditions – unlike windsurfing for instance. Flat water, a board plus paddle and you’re good to go.
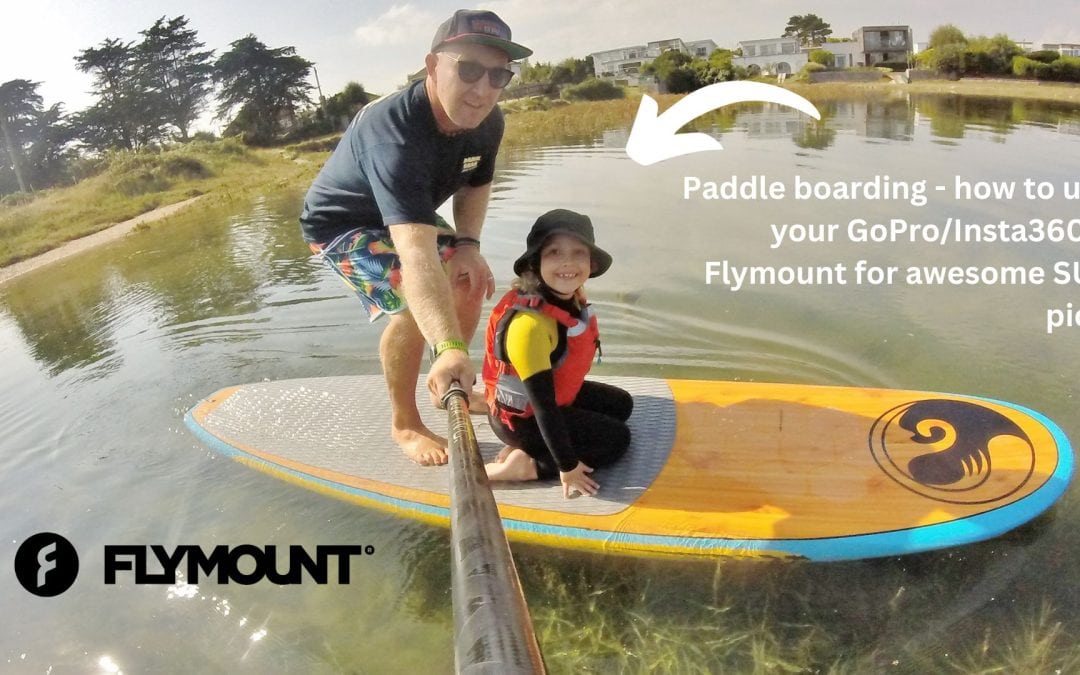
The pandemic saw huge numbers of people purchase paddle boarding equipment. And with GoPro action cams readily available it’s a reasonable argument to suggest that riders want to document their on-water shenanigans. But having the right action cam mount is key. And then you have to learn how to use your GoPro and Flymount to nail those awesome SUP pics.
What’s covered in this article –
Paddle boarding GoPro action cam mounting options.
Paddle boarding on flat water may look easy enough to capture GoPro/Inbsta360 action cam footage and shots but there’s more to things than you’d initially imagine. A good many inflatable paddle boards come with action cam mounting points attached to the board. iSUP brands use these as additional selling points and features. Hard paddle boards sometimes offer fixing points for GoPro and Insta360 cams but more often riders will be expected to affix 3M sticky pads with mounts attached. The angles board mounted can work well for SUP surfing in waves – especially snapping the rider dropping in. But for other types of paddle boarding photos, it doesn’t give any real dynamism. Oftentimes images are of the paddler’s legs and lower body, which aren’t that interesting.
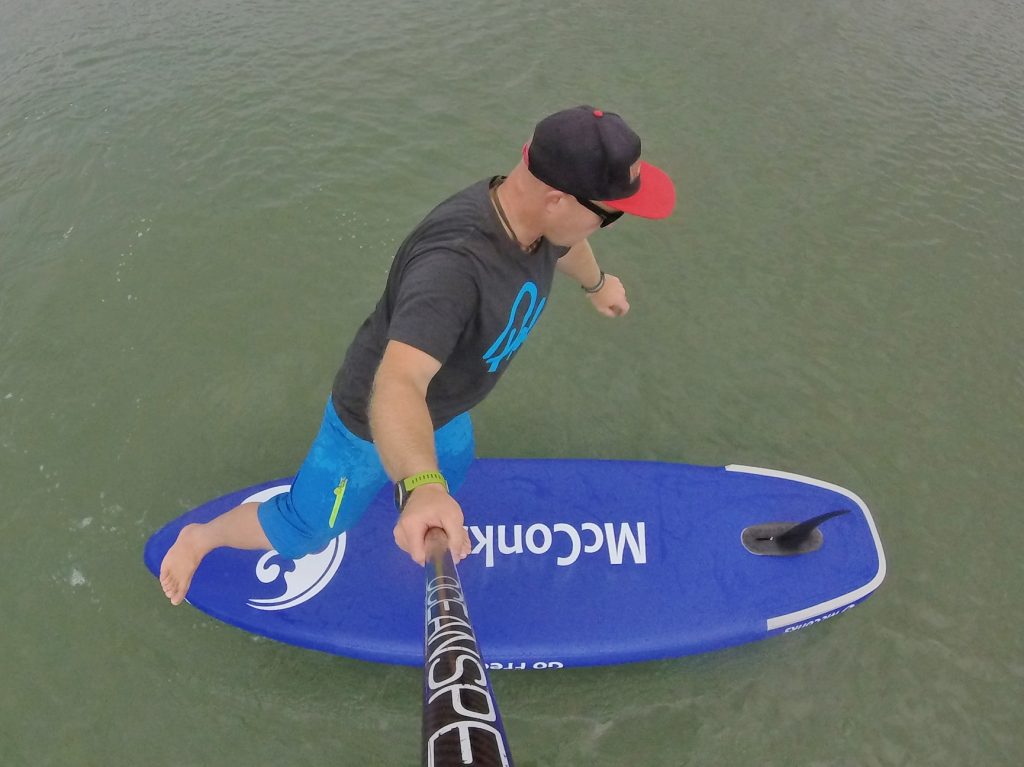
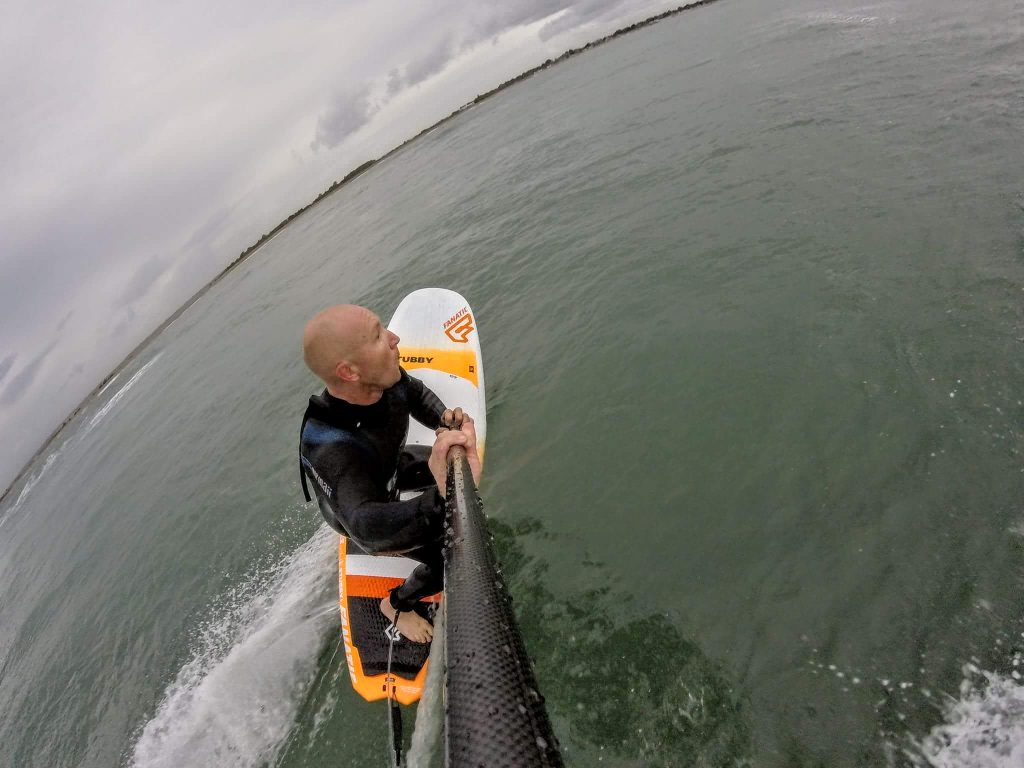
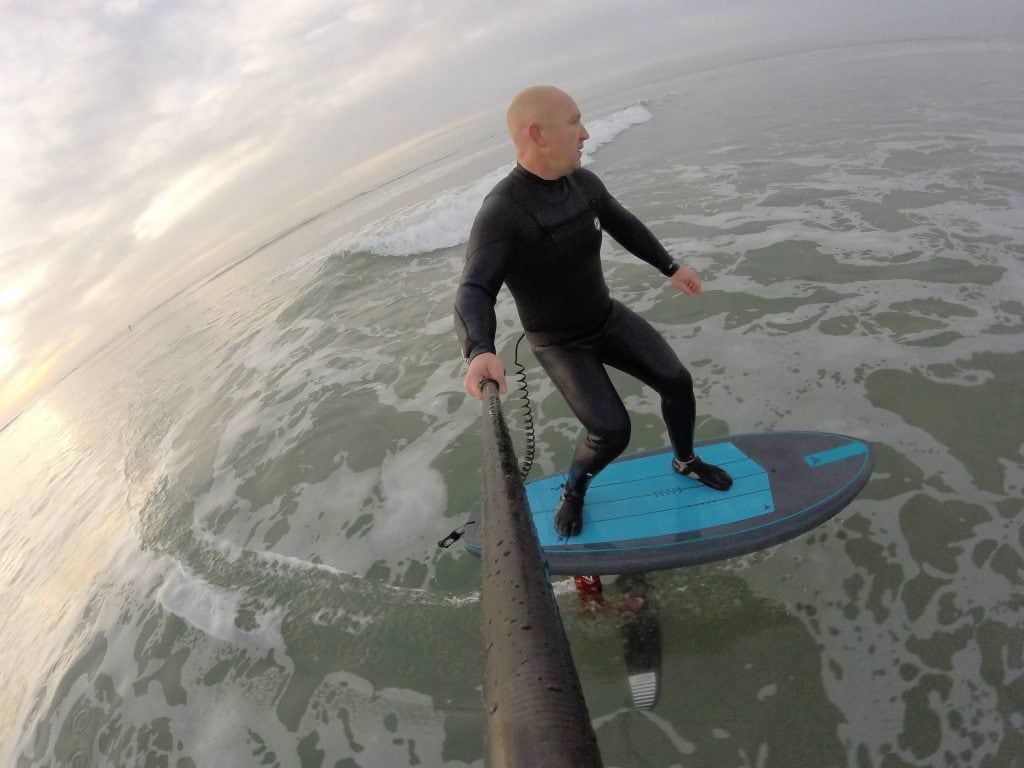
A much better way to shoot paddle boarding is by attaching your GoPro/Insta360 action cam to the shaft of your paddle. This gives riders the ability to change the shooting angle by extending their paddle away and rotating 360 degrees. As long as SUPers know what type of shot they are aiming for they can hold the paddle – with Flymount and cam attached – in the appropriate position. But there’s still a degree of trial and error before any paddle boarding enthusiasts will understand what angle delivers what type of shot. Note: some riders attach their action to the paddle blade itself. Whilst others mount their action cams close to the handle, which does cut down on swing weight when holding the cam in the air.
Flymount Aero-40 and paddle boarding paddle mounting choices.
One of Flymount’s newest action cam mounts is the Aero-40. This has a variety of applications but for paddle boarding it’s bang on the money. Being super compact, lightweight and bombproof the Flymount Aero-40 is well and truly up to the task. The Aero-40’s clamp mounting range is between 20mm-40mm so is more than fine to grip the majority of SUP paddles. It even works well with oval SUP paddle shafts. This will instill peace of mind in all paddlers knowing they won’t lose their GoPro or Insta360 action cam to the depths.
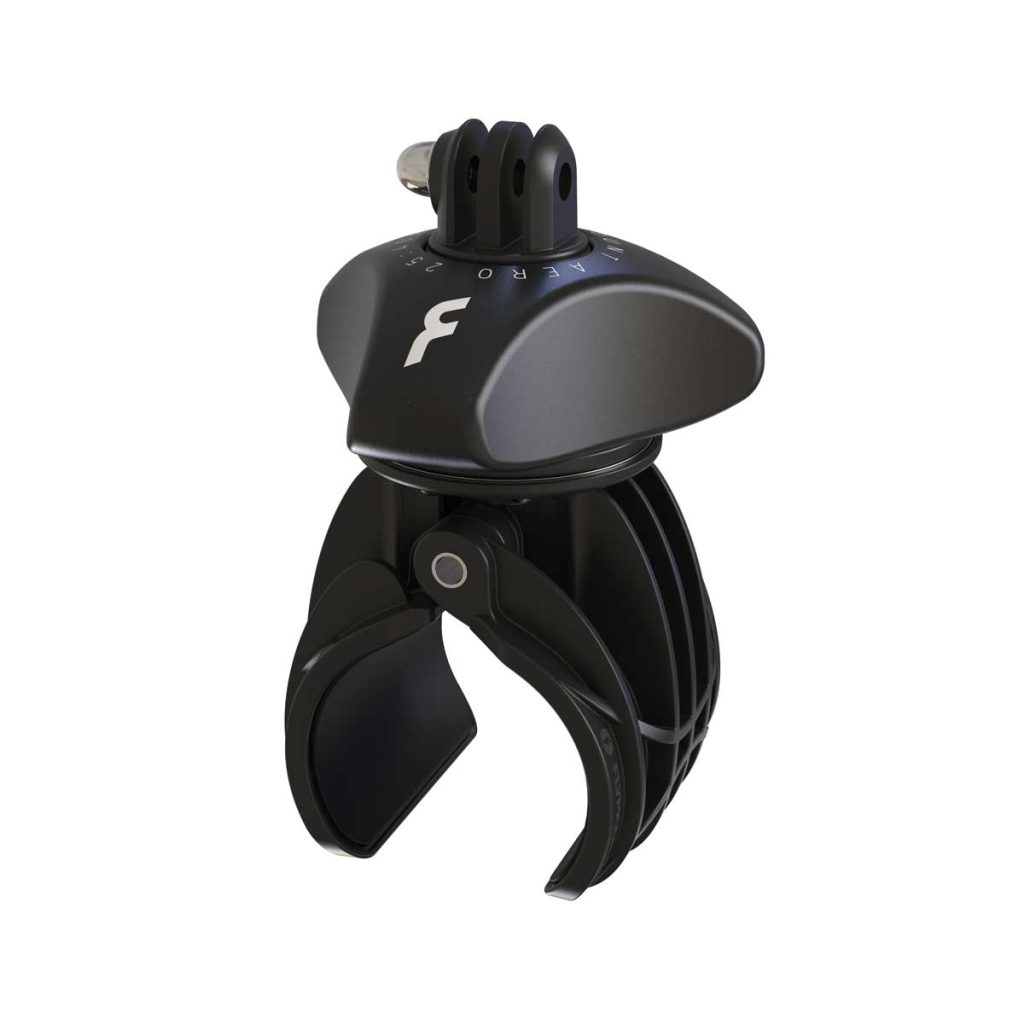
Flymount Aero-40 Ultralight Action Camera Mount
Deciding where to clamp the Aero-40 to your paddle shaft is the first job. Closer to the paddle’s blade allows riders to extend the paddle and camera further away. Mounting your Flymount closer to the top of the paddle brings the image point of view closer. Too close and you’ll lose all sense of depth. Unless you’re aiming for something specific. Note: your GoPro should be facing back along the paddle shaft towards the handle. Otherwise, it’ll be pointed down into the brine.
Learning to use your Flymount and GoPro for awesome flat water shots.
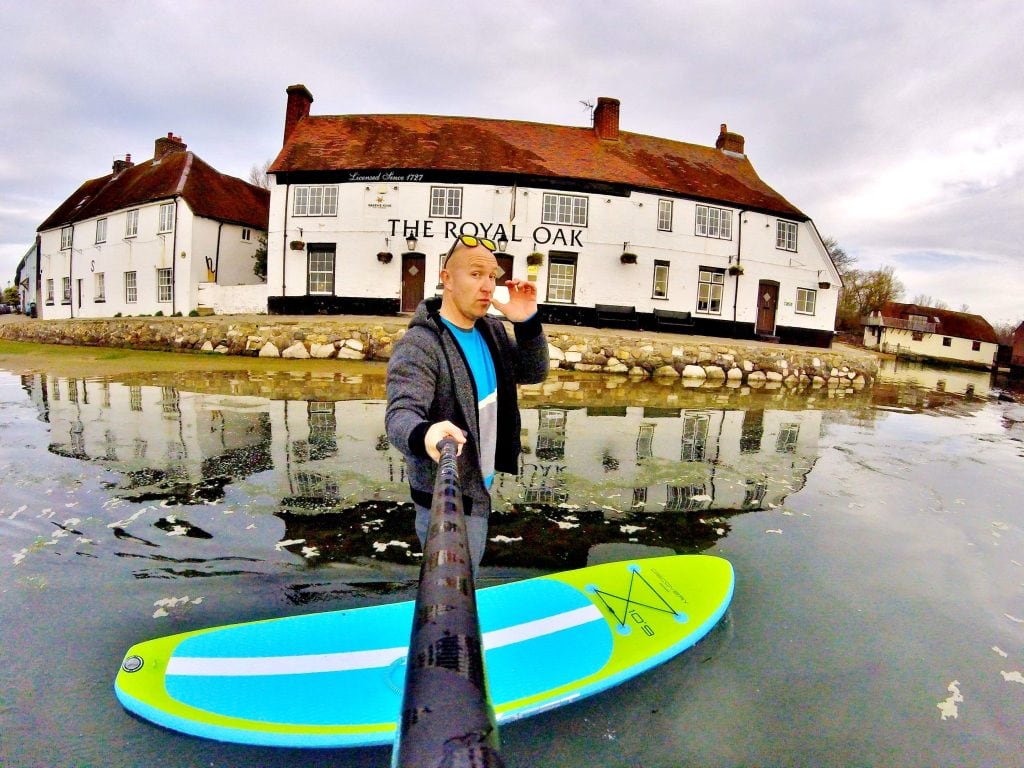
As already mentioned, to get the best paddle boarding shots SUP boarders will need to spend some time experimenting. It’s the only way to ensure the most dynamic and great looking SUP photos. At least when using a GoPro action cam and Flymount. How you hold and angle your paddle will determine what type of picture(s) you end up with. Below are a few suggestions for awesome SUP shots based around flat water paddle boarding.
- Hold your paddle vertically with the camera point down for great profile images.
- Hold your paddle at a 45 degree angle upwards. This is good for depth of field and should get the rider and board in shot with some background for perspective.
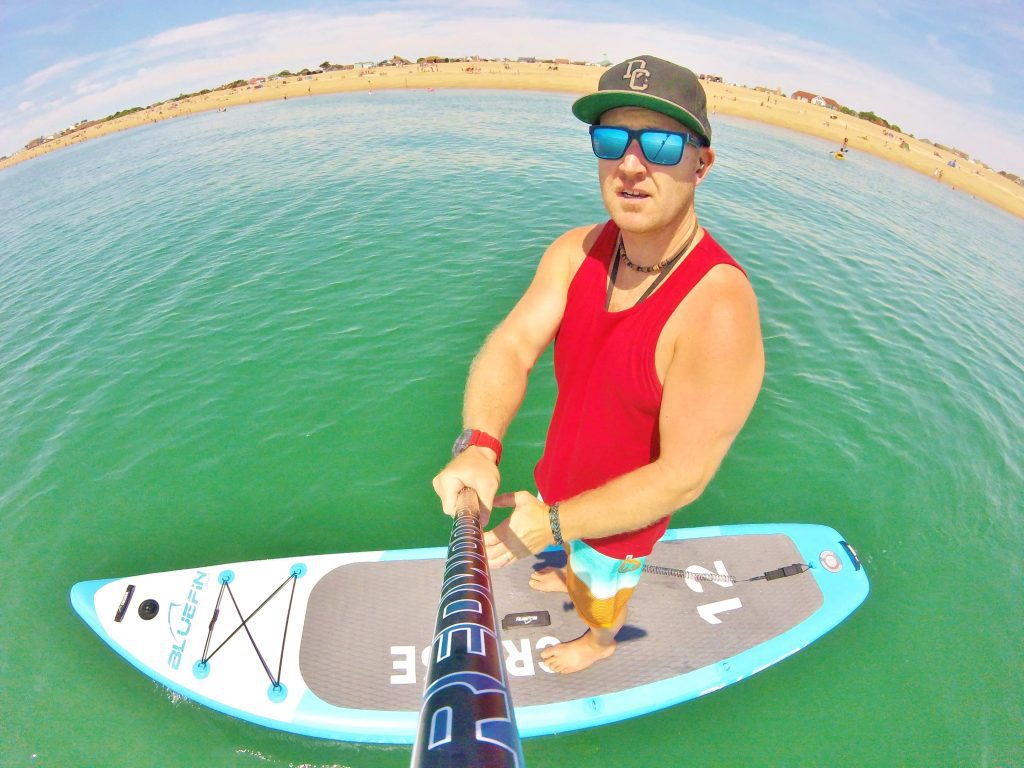
- Hold your paddle horizontally at 90 degrees. The image you get is a little like the above but with a flatter profile.
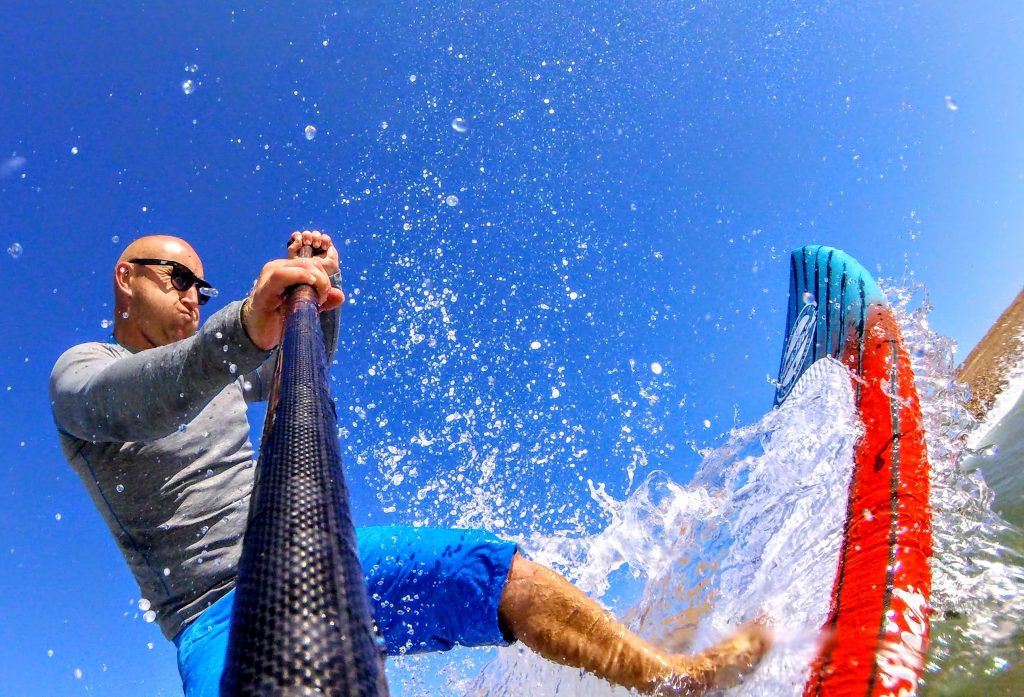
- Hold your paddle and Flymount lower, almost to the waterline, level with your paddle board’s rail. You may have to crouch or bend slightly but this can deliver a decent result which amplifies the sky for a specific feel.
- Hold your paddle directly in front of you and level. You mightn’t get all of your board in shot but it can be a nifty angle for capturing you and other paddlers in close proximity.
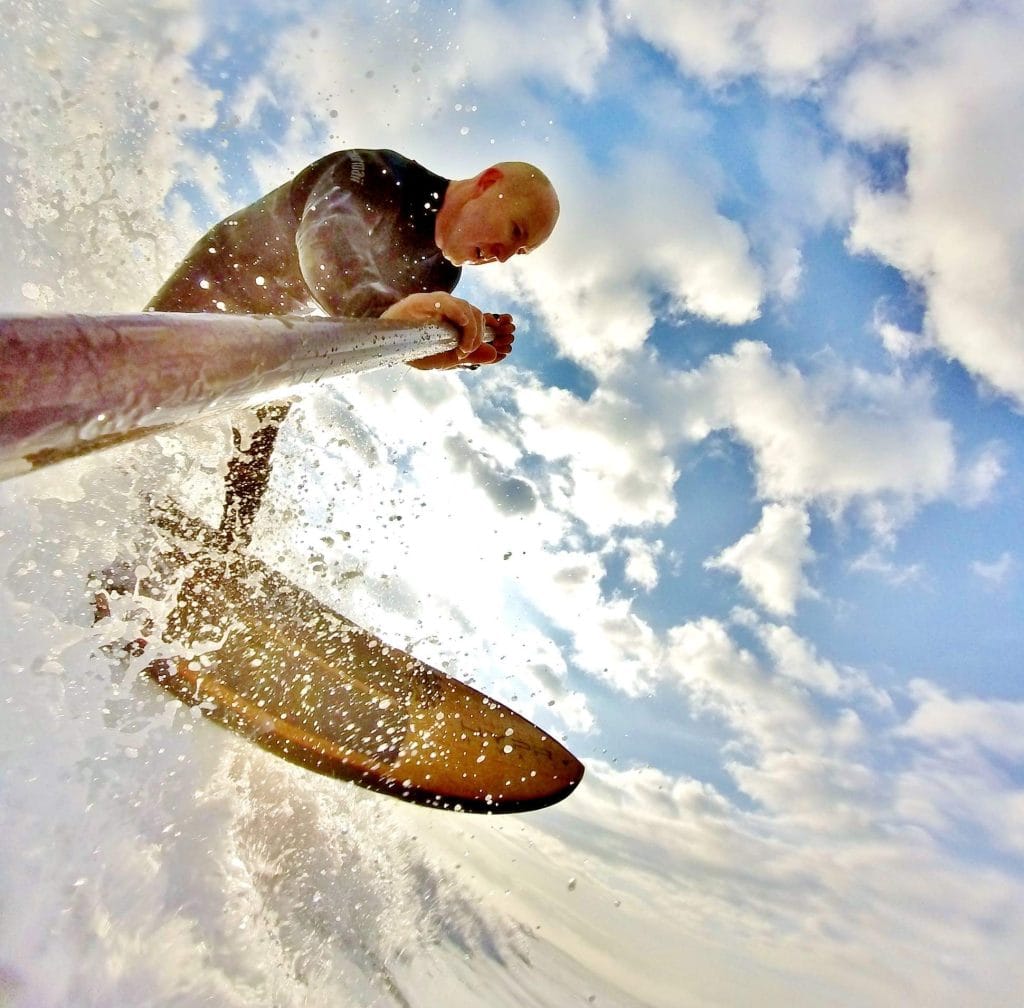
- Hold your paddle behind, with the GoPro shooting forwards. This is the best angle for perspective as it gives a view of the horizon in the rider’s direction of travel.
- Hold the paddle down and submerge your action cam. If you hover just below the surface, with your GoPro shooting up, the results can be quite fun.
A word about the weather and paddle boarding GoPro/Insta360 shots.
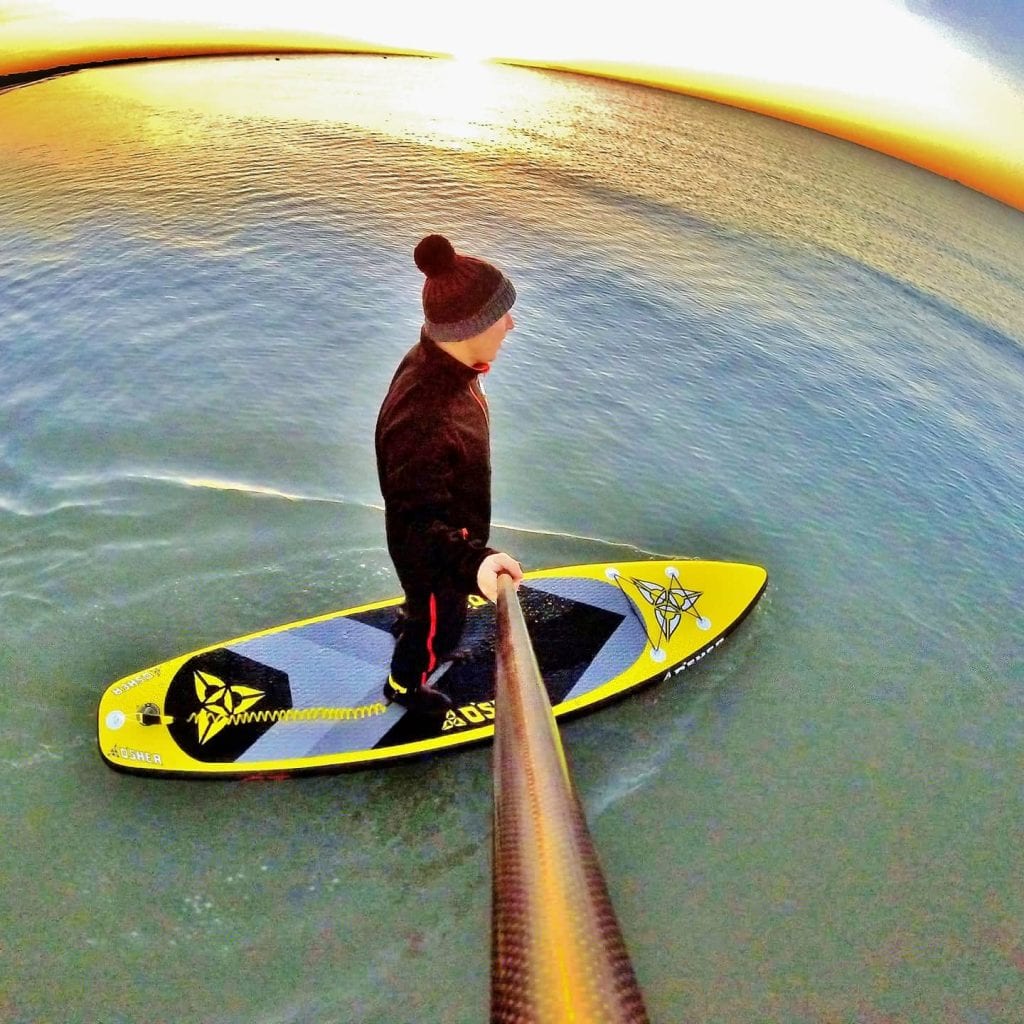
When shooting with an action camera and Flymount the weather plays an important role. Dull, cloudy skies won’t do your photos any justice. It’s therefore best to aim for brighter, or even sunny bluebird days for capturing paddle boarding action. For sunshine sessions, however, you’ll need to be aware that shooting directly into those UV rays will cause the rider in the frame to be silhouetted. This can be a cool effect. But you’ll need to mix it up with angles away from the sun.
We’d urge all paddlers looking to capture awesome images to avoid rainy days. As well as being dull you’ll have those water droplets to contend with. Any GoPro action users will know how frustrating water blobs obscuring the image can be. Rain just exacerbates this so pass it over for another time. Note: we’d also suggest setting your GoPro on time lapse mode for photos. Letting your cam shutter every second will mean you’re more likely to get the desired end result. There’ll be LOTS of images to go through at home but for those few bits of gold, it’ll be worth it!
Performance SUP tips and tricks.
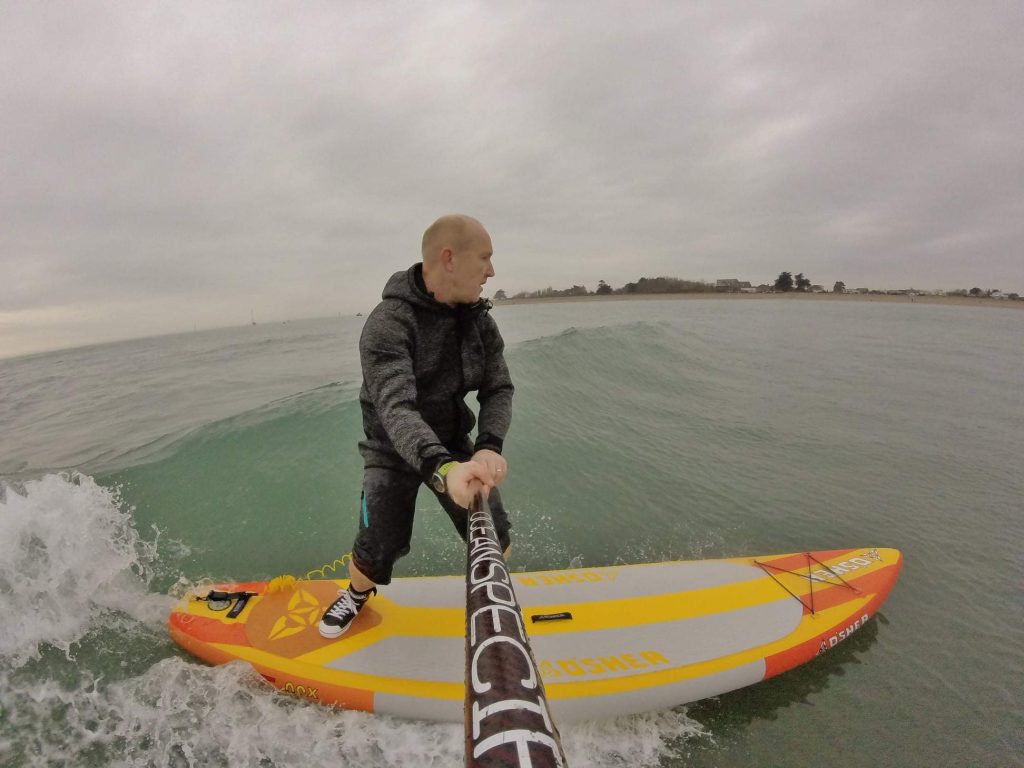
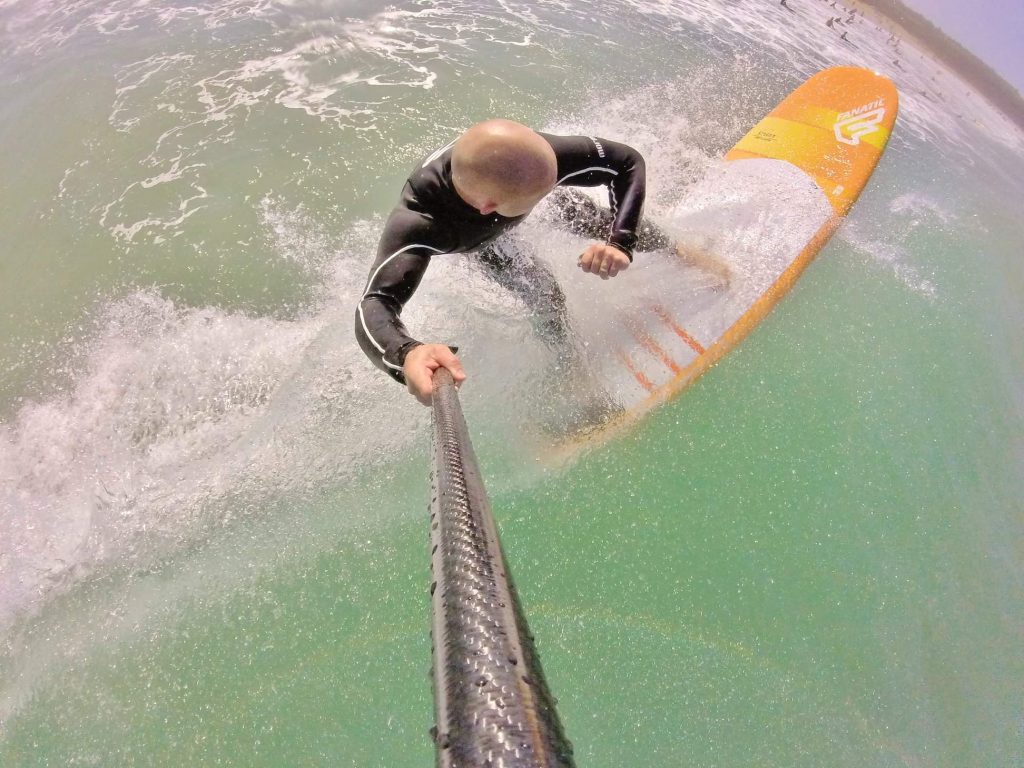
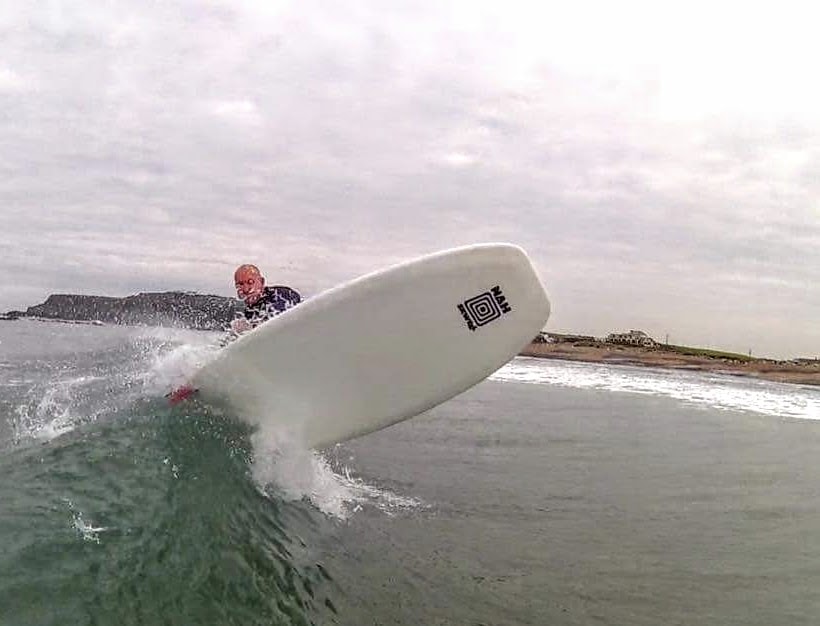
So far we’ve talked about nailing those awesome paddling boarding photos on flat water. But there’s a whole host of other areas you SUP and therefore take your Flymount and GoPro. Waves are one particular environment that suits action cam photography when done right. Surfing swell on your stand up paddle board allows some stunning water photography. But as with all point of view camera work, it’s how you use your equipment that counts. You’ll need to think about what you’re trying to achieve to end up with the desired results.
For SUP surfing there are generally two types of dynamic action shots you can get with a Flymount and GoPro/Insta360. The bottom turn is arguably the easiest whereas the top turn is trickier. For the bottom turn as you drop in throw your paddle mounted cam slightly up and behind. Keeping it a tad raised will show the board in profile and hopefully, the rail wake as you carve from the wave’s trough. If you want the wave in shot you’ll need your paddle on the side furthest away.
Top turn shots are slightly harder but still achievable. As you come up to the lip, put a stroke in, carve, or hit the lip but quickly aim to bring your camera up and away from you. This will hopefully show the board rebounding off the top or snap the rider pushing on the tail for some spray chucking fun. You can also dip the paddle into the wave’s trough so your Flymount and GoPro/Insta360 shoot back up the wave as you thwack the lip. But this also takes a bit of practice and luck.
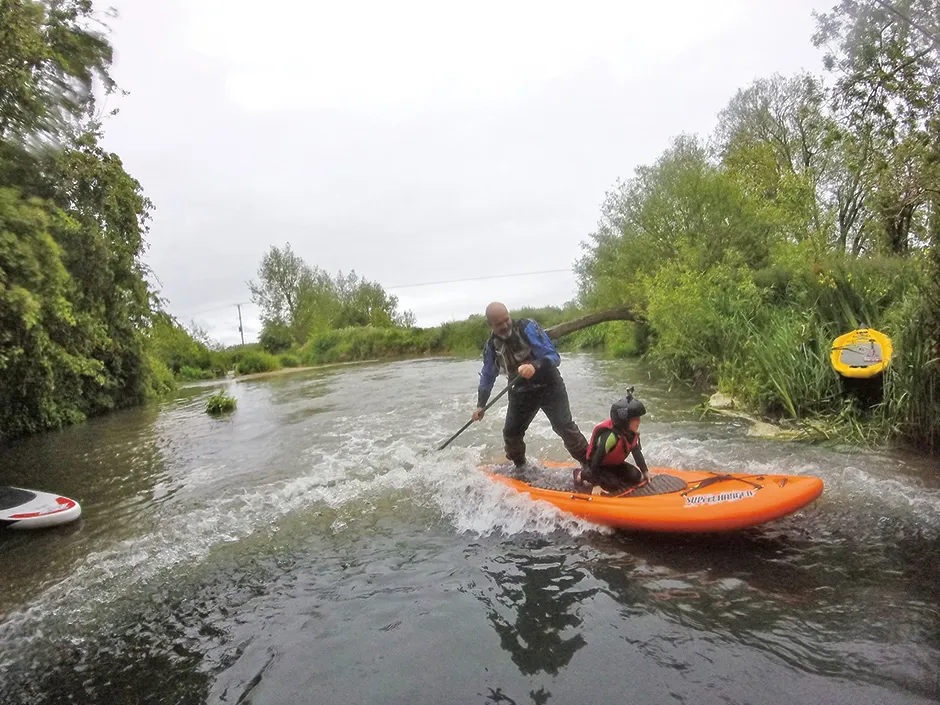
White water river paddle boarding GoPro/Insta 360 shooting tips.
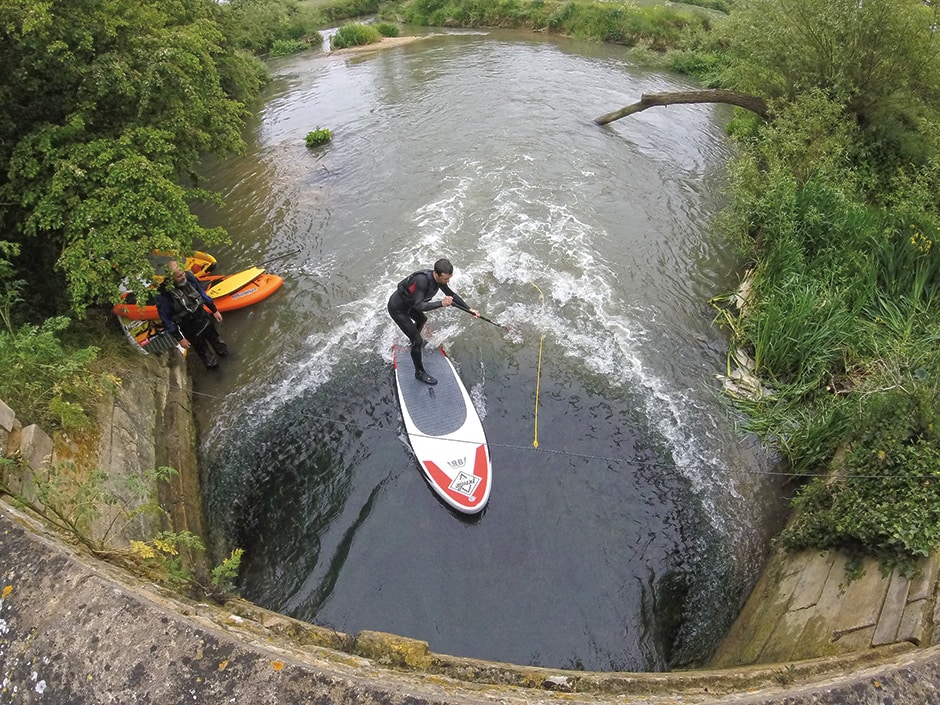
White water paddle boarding has gained traction in the last few years. What was once a niche within a niche steadily coming to the fore with more riders getting involved. In this section we’re focusing on the performance end of white water river SUP. This includes surfing river waves, hucking drops, and navigating rapids.
As with SUP surfing it all comes down to the type of shot the rider is after. Throwing the paddle and Flymount high is great for increasing the feeling of height – brilliant when sliding down a chute or going over a weir or waterfall. Usually, because there will be rocks around (in some cases the paddle boarder riding in a narrow gulley) keeping the paddle high will also serve to avoid equipment damage. When river surfing the same principles as discussed in the SUP surfing section above will come into play. The only difference with river waves is not moving forward. You’re static instead.
Other ideas for shooting awesome paddle boarding shots.
So far we’ve mentioned traditionally using your Flymount and GoPro/Insta360. Your cam and mount are attached to your paddle shaft. But you can get creative. If there are any static structures or objects close to where you’ll be riding you can attach your setup to this. All you have to do is paddle close to get the benefit of your cam. Too far away and it won’t pick any action up.
The only thing to remember if you choose this method is to retrieve your kit at the end of your sesh. Don’t forget and leave it otherwise, it’s an expensive mistake!
Editing your images – something not to overlook.
Editing images is something many paddle boarders forget to do. Yet in a lot of cases tweaking your pics may lead to better overall results. This might only be something as simple as cropping an image. Suddenly you end up with a much better photo.
The trick with editing is to not go overboard. But a few adjustments here and there can mean the difference between average shots and awesome ones. You don’t need to be a Photoshop whizz. Simple editing software will do the job just fine. Have a play and see what you can come up with.
Summing up.
As always with any type of action cam shots you need to consider what type of pic you’re after. Ideally, you’ll have experimented with different angles and will be well aware of what makes a decent paddle boarding shot. All that’s left is to pick your day accordingly and see what you can achieve.
If you have any other questions about using Flymount and action cams for shooting POV style paddle boarding pictures get in touch with us here. Alternatively, head over to the Flymount shop where you’ll find more product details. And if you want more paddling knowledge hit up this article.
Recent Comments