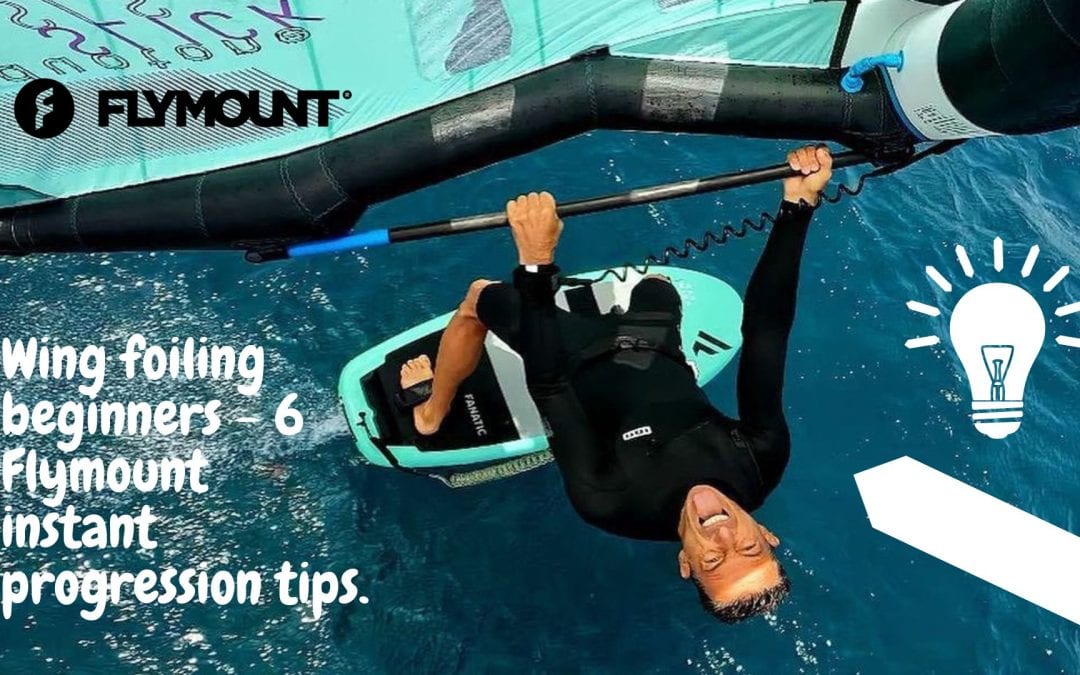
Wing foiling, wingsurfing or foil wing (whatever you want to call it) is right at the top of points of interest when it comes to wind sports. The mesmeric ‘snowboarding in powder’ glide of being on foil. Its ability to allow riders to make use of light winds. And the efficiency of wave gliding gives wing foiling a magnetic appeal. If you’ve ever windsurfed or kitesurfed then wing foiling is instantly attractive. But equally, surfers and paddle boarders, wakeboarders and skateboarders are seeing the wingsurfing benefits. However, learning the art isn’t quite as straightforward as some would have you believe. Here are 6 Flymount instant progression tips for wing foiling beginners. Plus a bunch of other top tips for making further head way with windsurfing.

In this article –
Wing foiling beginners’ initial checklist (7 tips).
As a newbie starting out on your wing foiling journey, there are a whole host of factors to consider. It’s not just a case of grabbing some gear and hopping aboard. There’s a little more to it than that. Your equipment needs to be considered, as does the location you intend to learn. Likewise, conditions that are favourable to progression should be given due thought. Here’s a checklist for those initial wing foiling points to keep in mind.
- Go BIG with your wing foiling gear. A bigger wing (6m for the average 80kg-90kg rider), a bigger board (130L+) and low aspect foil (shovel like in appearance with 2000cm2 surface area) will give you a fighting chance.
- Flat (or flatter) water is a good choice. Choppy water states can make learning to wingsurf arduous. The wing foiling take off is a big focus at the start. Chop can make it feel like trying to ride uphill.
- You need some wind. Foil winging is great in lighter airs when you have the skills. But to start with wind speeds around 18-22knots will be more ideal. Even with the aforementioned 6m wing. Winging is a low power sport. Therefore to begin with equipment and conditions that help push riders on foil is good to aim for.
- Fairweather will be your friend. We appreciate that in some locations wind doesn’t always accompany sunshine. That said, with warmer air temperatures (and water if you can) the wing foiling learning journey will be more pleasant. Wing foiling beginners trying to make headway in the depths of winter is now fun.
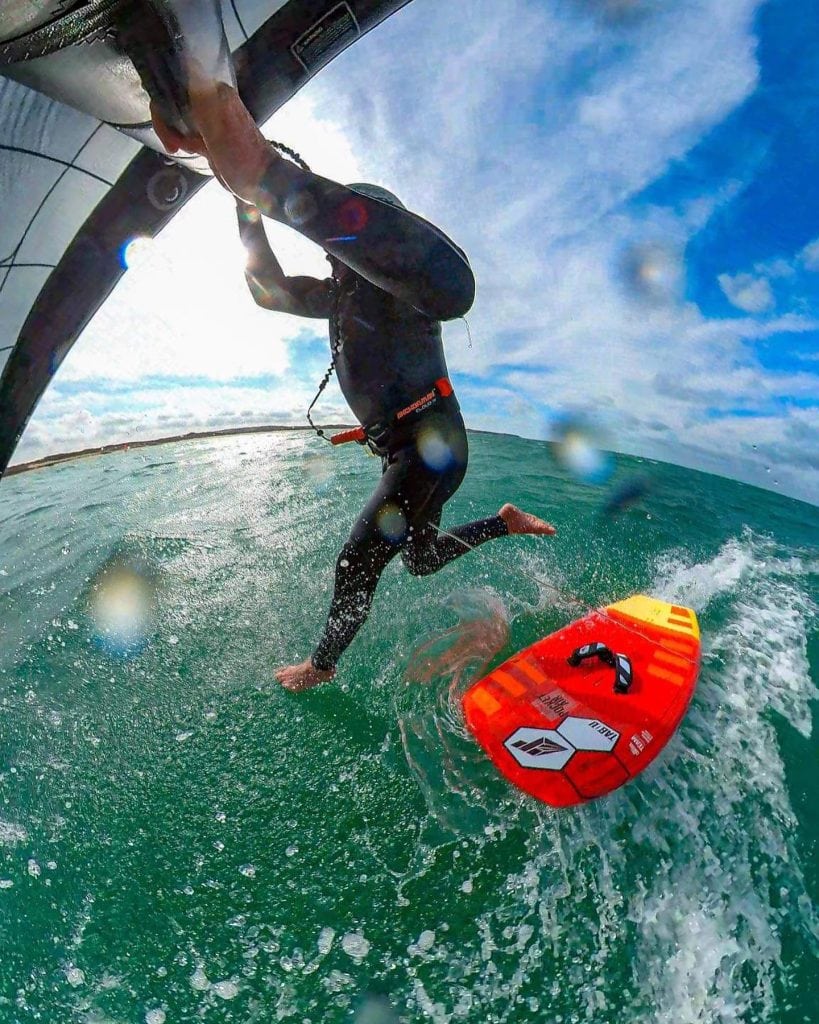
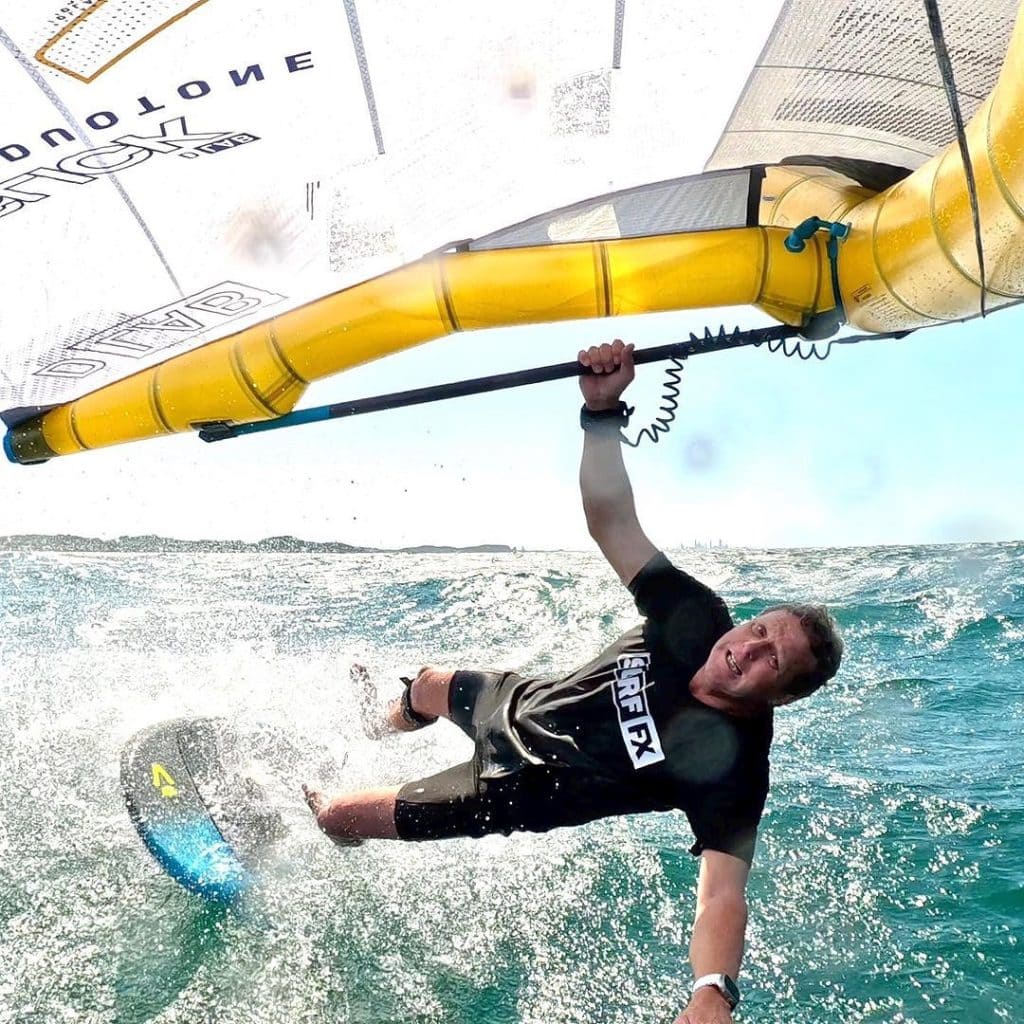
- Keep foil wing safety in mind. To begin with, an impact vest and helmet will stop injuries when you wipe out. And fall you will!. Protective gear like this can also help with additional warmth. Make sure your wing and foil board leash are soild – you don’t want the kit disappearing off toward the horizon. Avoid conditions beyond your ability. Shorebreak, nuclear winds, strong tides/currents and hazards upon entry and exit aren’t favourable. Use your common sense and you’ll be fine.
- Consider an initial lesson from an experienced and qualified wing foiling coach. It’ll fast track those first forays considerably.
Next steps.
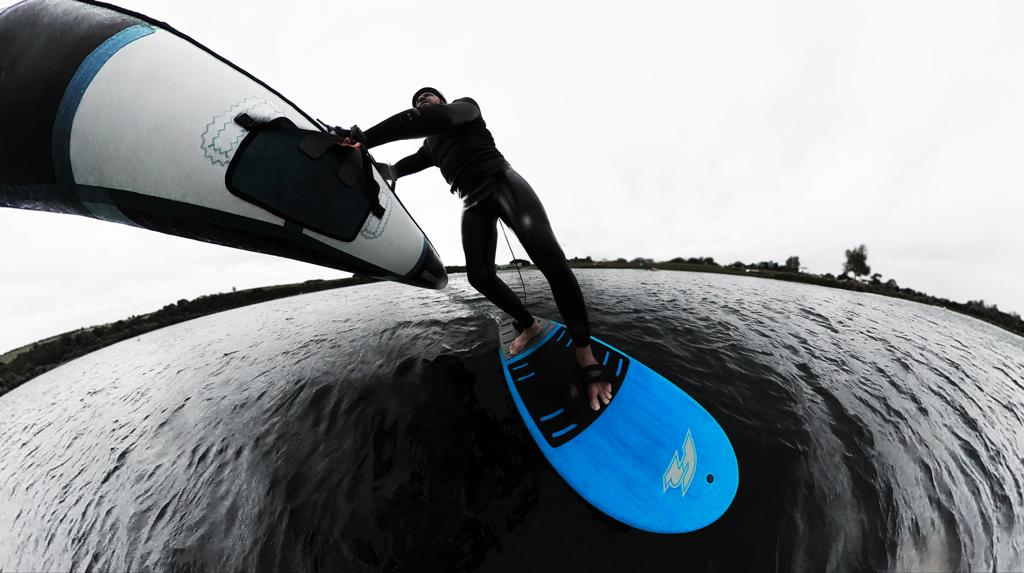
Having taken those first wing foiling steps it’s time to move things up a notch. You’ll be looking to sustain flights even more and tackle a broader range of conditions. Hopefully, you’ll have some understanding of your foil’s performance and how to make it work. Efficiency is key during the windsurfing start. Timing the take off with a gust and then adopting the right biomechanics will see success and additional goals achieved.
Pumping is a key foiling skill to master. And with foil winging this involved pumping both the foil and wing in tandem at the right point. Both elements are subtle. Time and again we see riders trying to pump their foil by jumping up and down, which is never going to yield success. Equally shaking your hand foil wing vigorously isn’t the technique either. Your wing needs to be almost rowed whilst you skip the foil forwards and up. The video below gives more insight as to what’s required when learning to pump your wingsurfing kit.
What’s next on your wing foiling journey?
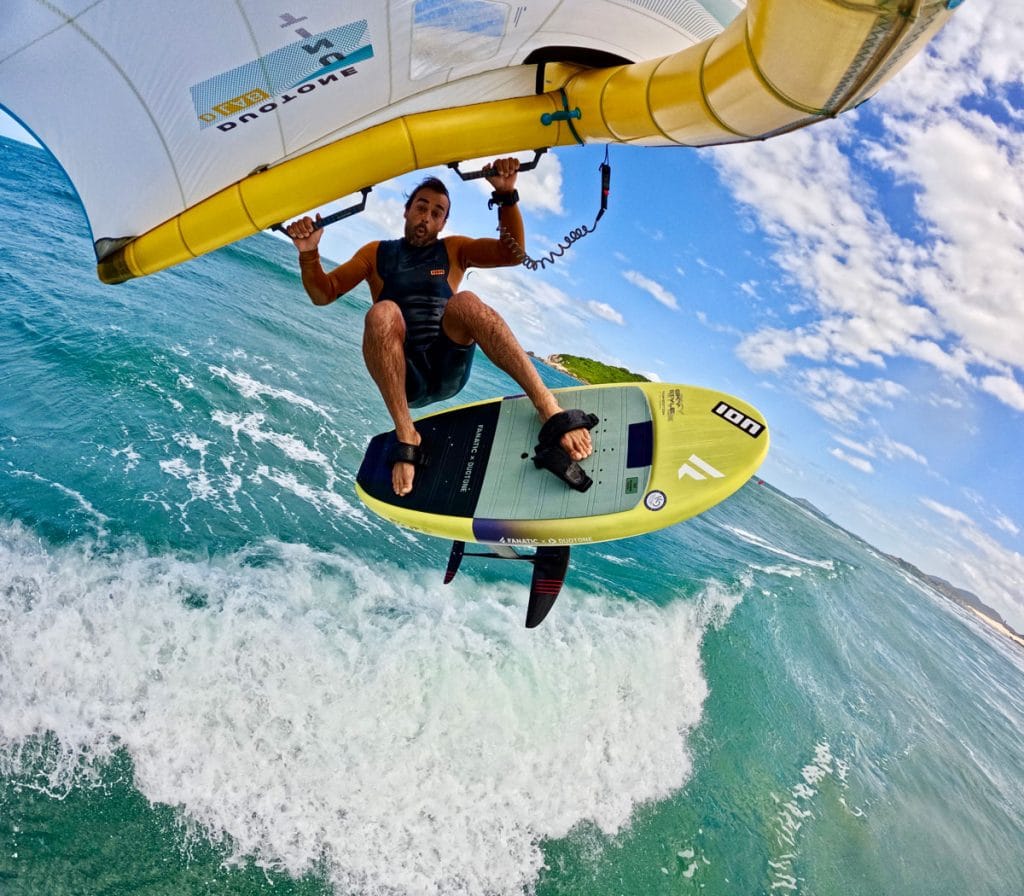
Turning, or gybing, is what most wingsurfers aim for having learnt how to lift and sustain flight. After all, riding in one direction is all well and good. But you need to be able to sail back and return to your launch point. Gybes, however, can be tricky. The sensation of going round corners on foil can (literally) throw most wingers off initially. And the constant battle to succeed can often be longwinded.
Yet wing foil gybing doesn’t have to be quite so frustrating. Speed will always be your friend as you enter any move – gybing included. Keeping central atop your board and avoiding dropping your weight off the tail is also best practice. If you come off foil towards the latter part of teh gybe then as long as your centrally weighted it will just touch down. Riders can then sort themselves out, adjust their feet and ride off on the new point of sail. Another great video (below) spotlights that wing foiling gybe progression.
Further wingsurfing progression.
Up until now, we’ve talked about the initial pathway along wing foiling’s infinite route. But there’s so much more to focus on. Having started to bag those first few wing foiling gybes your progression curve will be on the steeper end of the spectrum. At this point, you may want to start experimenting with equipment and conditions.
Board size is the obvious one. As well as wing types. Oftentimes, however, dropping down board sizes is done too quickly. There’s nothing wrong with sticking with your original board whilst dialling in those skills. And when you do drop a size don’t take things to the extreme. It’s not the wisest to go from say a 130L foil wing board to 80L. You’d be better off aiming in the middle to 100L. In terms of hand wing size, you may fancy going bigger (for lighter wind performance) or smaller for bigger gusts and stronger breeze.
Partnering a 6m wing with a 4m isn’t a bad idea. You can, of course, add other sizes as you wish. Something around 7m or 8m will give more opportunity to score sessions in the lower wind strength band.
And what about the foil?
Your next foil choice can be a tricky one. Upgrading from what you’ve been using as a beginner is often headache-inducing. There are a lot of brands selling lots of kit. And all the numbers and dimensions can be off-putting. Plus, actual hard facts about what foil does what can be scarce. Talking to an experienced and reputable retailer is therefore key. It’s all very well listening to your mates but with the best will in the world if they’ve limited experience it mightn’t be the best advice they give.
Generally speaking, foils come in three different types, based on their aspect ratios. The following lists this and what general performance you’re likely to experience.
- Low aspect foils – this will be what you’ve probably been using to date. Low aspect foil have a longer chord and can be identified by their more shovel like profile. Generally, LA foils have tons of low end lift and are often quite carvey. Traditionally probe surf foils would use low aspect designs. But beginner wing foilers also benefit initially from what they offer.
- Mid aspect foils – a relatively new concept with many foiling brands focusing on this sector of the market. Mid aspect foils aim to deliver both early take off and good glide. Some also roll better maneuverability into the package as well. One of the new generation mid aspect foils can now have almost as much glide as a high aspect foil. They’re also quite pumpable.
- High aspect foils – high aspect foils are identified by their wider span (relative to oversize), reduced thickness and narrow chord. Designed with glide and pumpability in mind high aspect foils can sometimes be more technical to use. Although there are designs which buck this trend. The glide properties of a HA foil can be great when thinking gybes. Also wave riding too. And as foils become more refined a lot of newer high aspects are pretty manoeuvrable. The bigger, extreme end of the HA foil market can be amazing for super light wind and pumping. The pumping ability of these foils is perhaps the most notable trait of their performance.
Moving on up.
Having upgraded your wing foiling kit and upped your skill level it’s time to push on with your wingsurfing. For riders confidently getting round corners the obvious move to work on is tacking. In some ways, tacking isn’t dissimilar from teh gybe. The only difference is you’re heading upwind as opposed to downwind. With enough speed and the right foil, however, it’s possible to glide through a tack just as you would going through a downwind turn. Certainly when thinking toeside (switch stance) tacks. Heelside tacks may prove a little more difficult though. The vids below give some insight into wing foiling tacks.
On from this, the world is your oyster. Wing foiling can be taken anywhere. Waves and wave riding is what a lot of riders tend to focus on. The foil’s glide and efficiency can make use of even the most gutless swells. Flat water freeriding is the other popular discipline. Cruising back and forth, gybing and tacking with perhaps the odd jump thrown in for good measure. Freeriding can be done on any water state and in any wind.
Freestyle and aerial trickery is a thing if you fancy some whilring and twirling. And for riders with competitive leanings racing is on offer. In most parts of the world where winging is a thing there are burgeoning race events. From grassroots right up to pro level. Whatever you’re feeling there’s a wing foiling discipline to suit you.
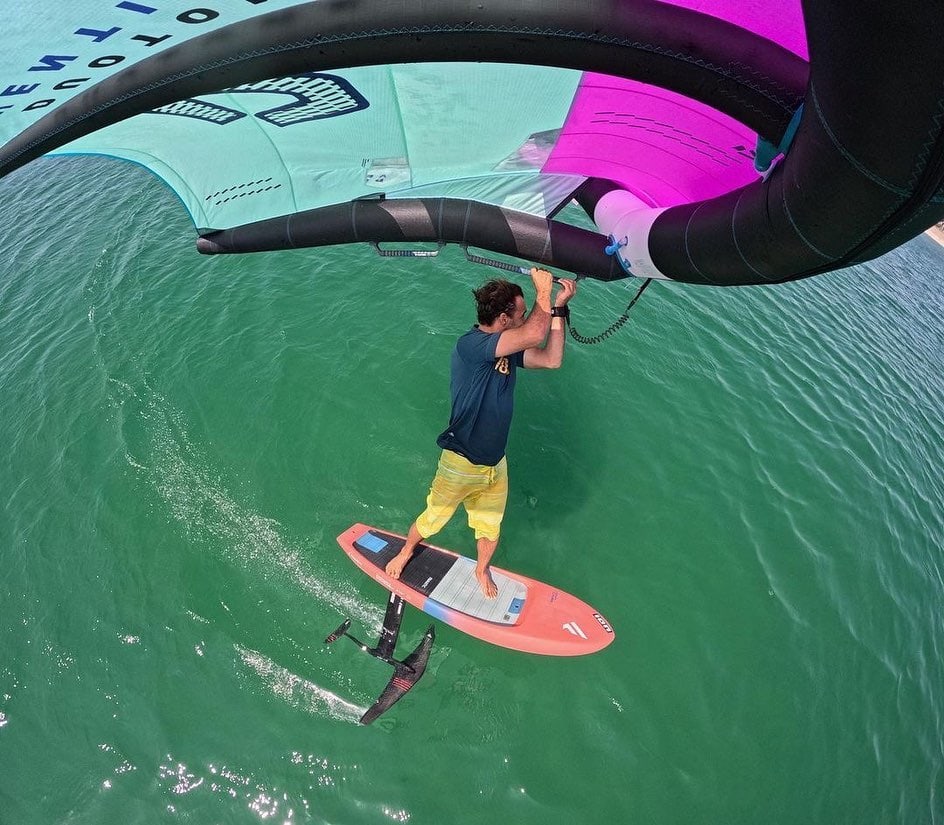
How can Flymount and action cams help with my wing foiling?
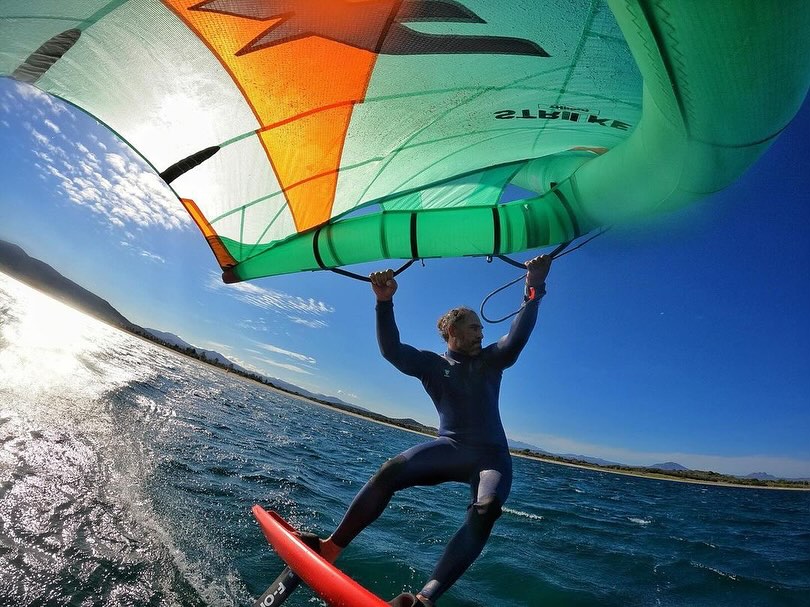
Self coaching with all these types of sport (windsurfing, wing foiling and kitesurfing) is much more achievable. The knowledge we have on tap is abundant. Searching online and watching instructional how to videos will give you pointers in the right direction. And with action cam technology – such as GoPro and Insta360 – the ability to film yourself and watch the playback has never been easier.
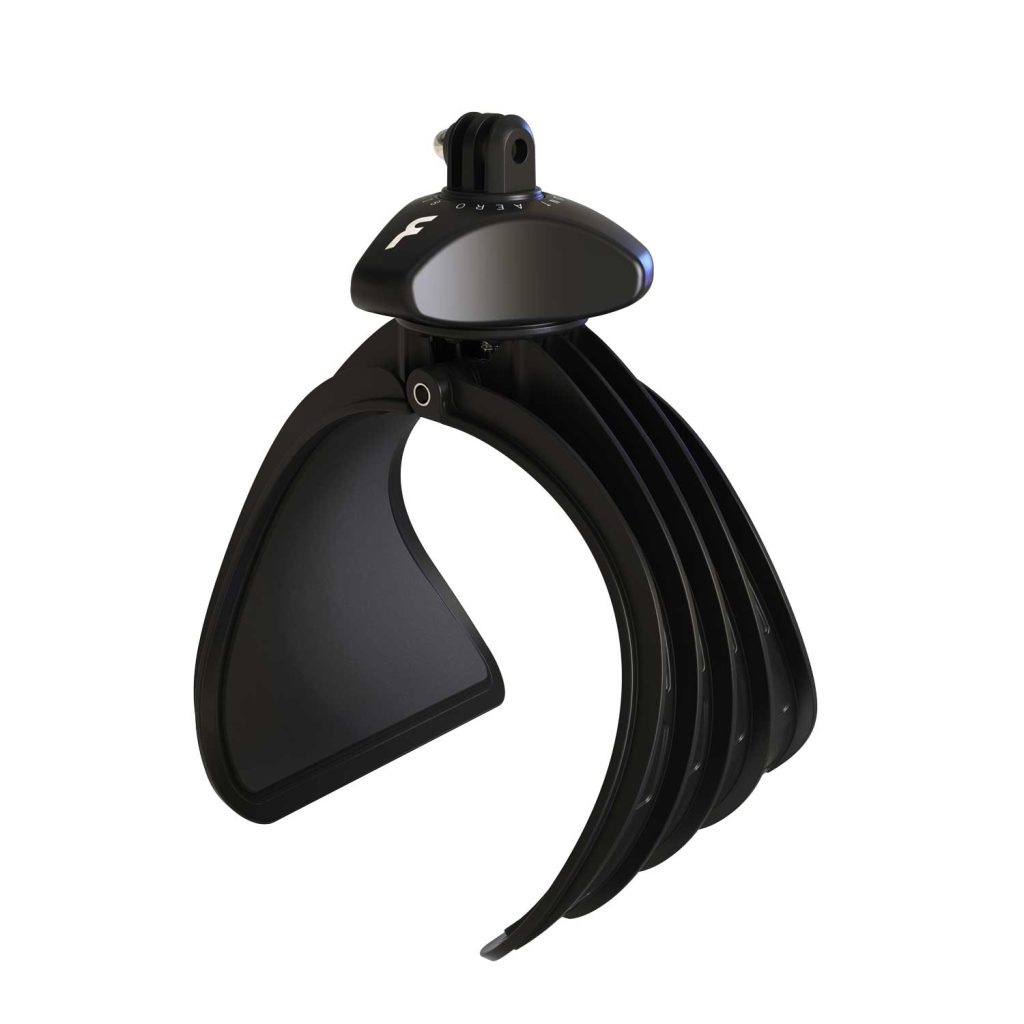
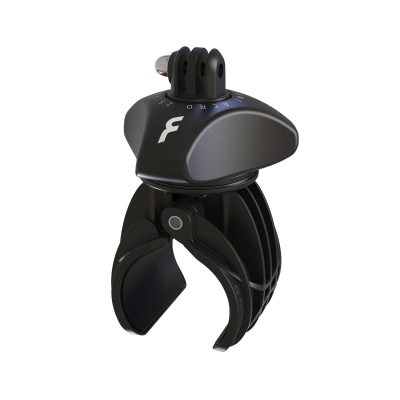
Flymount Aero-130 Ultralight Wing and Kite Camera Mount

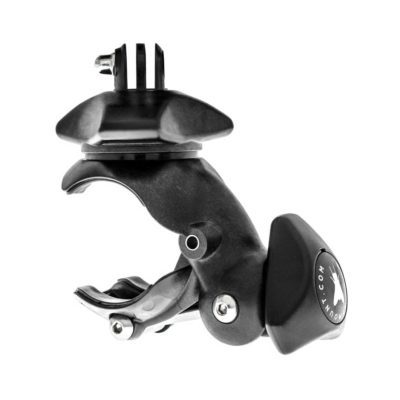
Flymount Aero-40 Ultralight Action Camera Mount
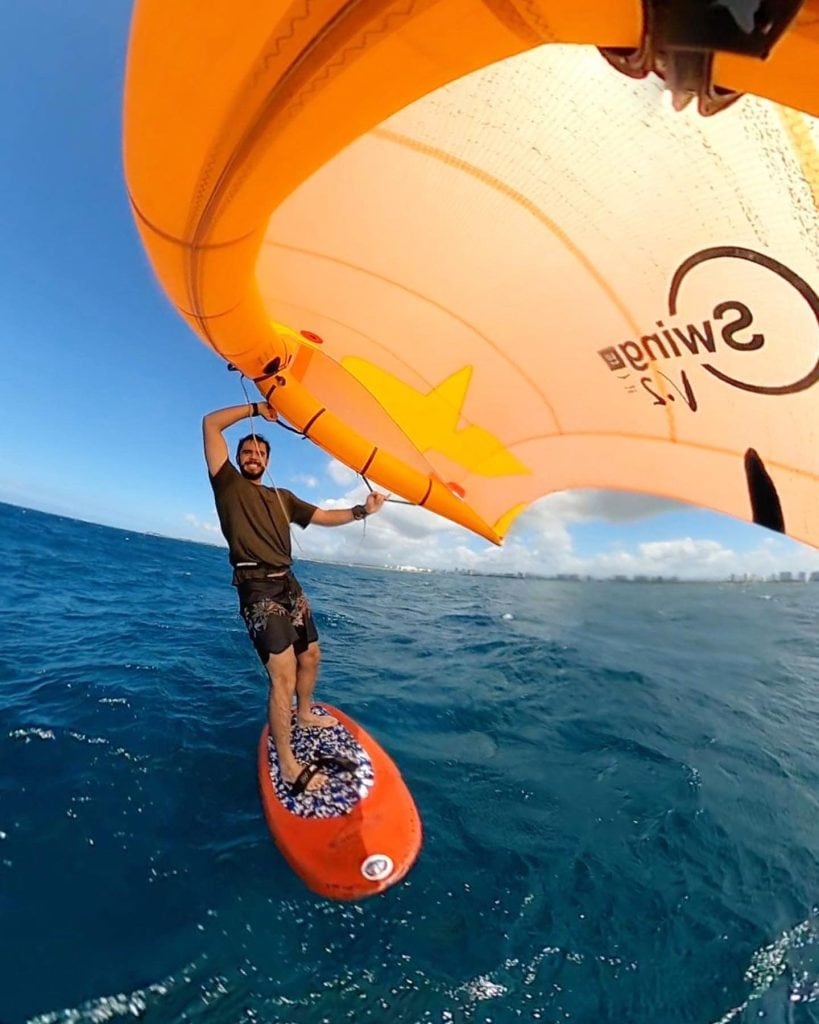
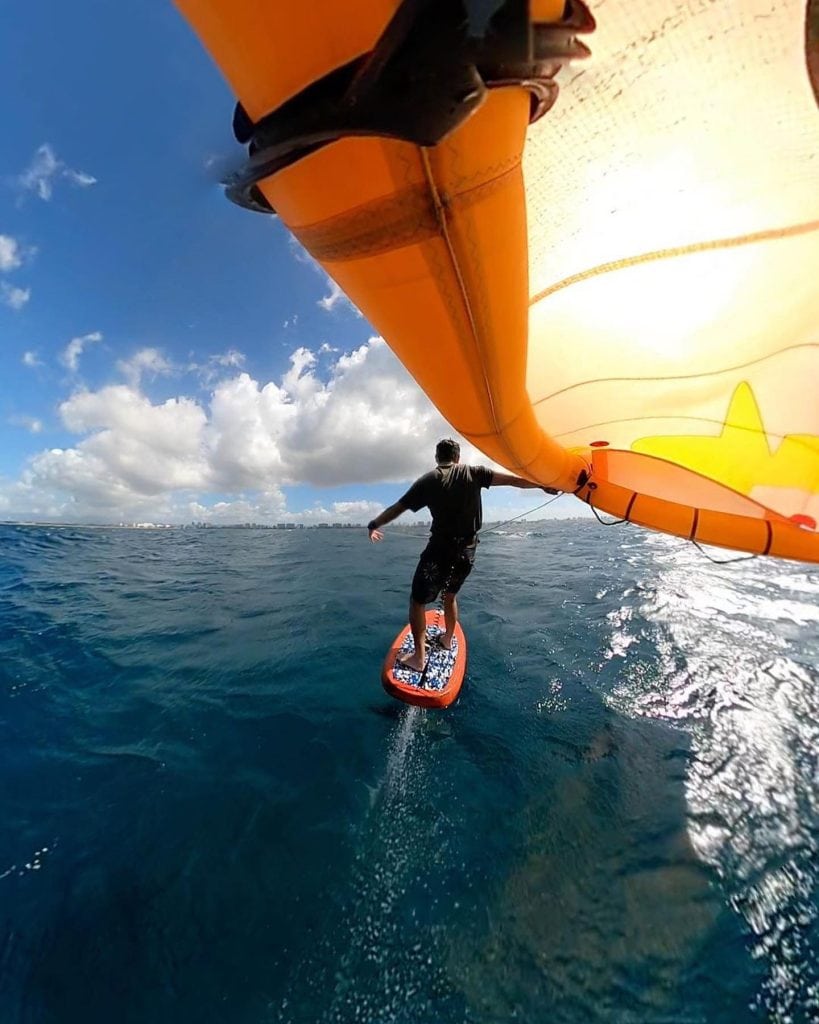
Add in Flymount’s unique and innovative Aero 130 wing mount and you have a match made in heaven. The Flymount Aero 40 is also an option too. Being super robust, yet lightweight, attaching a GoPro or Insta360 to your wing has never easier. Being safe and secure with a Flymount means your action cam is poised to snap all that wing foiling action. Once back at base riders can then see how they perform, cross referencing this with coaching knowledge gleaned from research. Being point of view action cam footage can serve up those little nuances of what’s going on when moves are being executed. As such this can be a great tool for self coaching performance gains.
What other benefits are there from using Flymount action mounts?
Whilst you’re filming yourself for beginner wing foiling self coaching purposes (or even for advanced riding gains) you’ll be bringing home teh bacon in terms of general shots and videos. All this footage and imagery is great fodder for social media sharing as well as making memories to be looked back on.
You may be using Flymount and action cams for coaching purposes but the general photographic opportunities afforded with these ‘tools is tangible. If you fancy learning more about how to nail those awesome wing foiling shots then check out the Flymount guide here.
Keep your eyes peeled.
Here at Flymount, we’re super passionate wing foilers. And being tinkers and designers we always looking for possibilities and new product opportunities. Keep your eyes peeled for potential more action mount accessories that’ll help with your wing surfing progression.
In the meantime why not visit the online Flymount shop to check out our goodies here.
Summing up.
Being a wing foiling beginner is an exciting prospect. It’s a rewarding journey, if a little frustrating at times. That said when you unlock the feeling of flying we guarantee you’ll become all consumed – as we have. Using accessories like Flymount GoPro/Insta360 action camera mounts to identify coaching areas of your technique will also help. If the tools are available, then why not use them, after all?
If you have any questions about wing foiling or Flymount products then give us a shout here.
Recent Comments