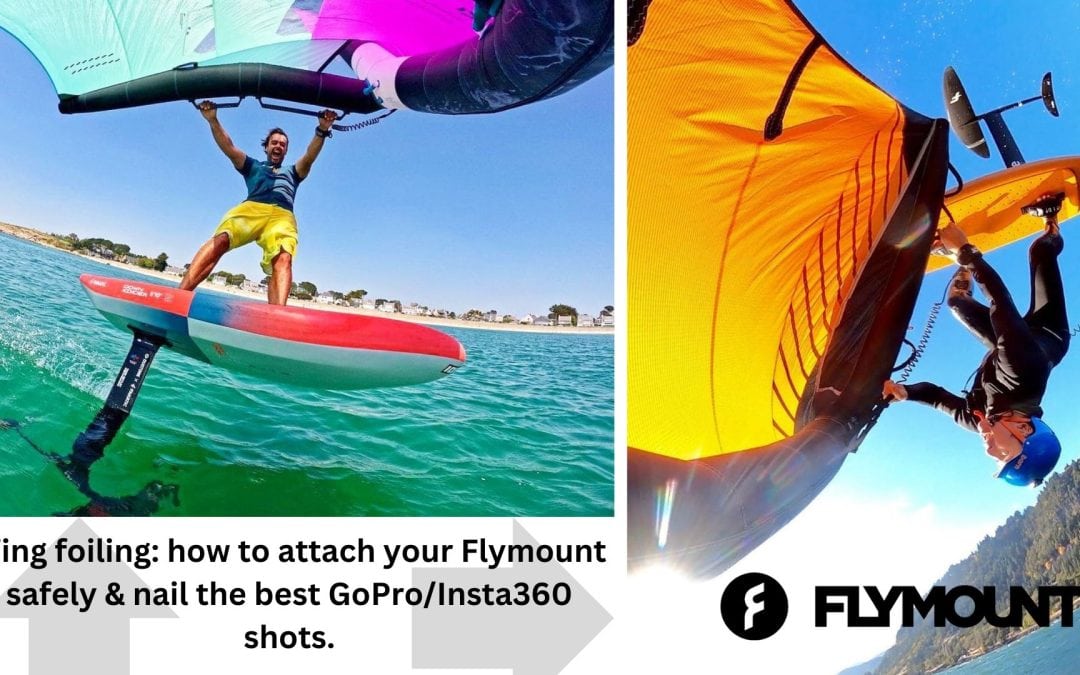
Wing foiling is a BIG talking point within the world of watersports. According to many industry insiders wing foiling is one of the biggest watersports growth disciplines around. And it’s not hard to see why. Ticking the boxes for riders from multiple backgrounds winging can be flat water freeride, freestyle and/or wave orientated. Which is why windsurfers, kiters and surfers are seeing the appeal and getting involved. To name a few. In this article, we look at some of the best practices when using your Flymount Aero 130 and nailing the best GoPro/Insta360 shots whilst wing foiling.
What’s covered in this article –
Capturing that wing foiling action on the water.
GoPro and Insta360 action cams are nifty little bits of kit. They can be used in a recreational format for those who simply want an action shot (or shots) for their social media profile pic. Or, likewise, GoPro/Insta360s and a lot of other action cams serve up print media quality images that some professionals can make use of. The tricky element, until Flymount stepped up with their Aero 130 wing mount, was how to capture those essential images using said POV style action cameras?
Being free moving wing foiling wings are inflatable by nature with seeming awkward points for attaching action camera mounts. And it’s the same with boards. There aren’t that many places a GoPro/Insta360 could sit and snap your moves.
Flymount Aero 130 action camera mount innovation.
Ever keen to address and find solutions to problems like the one mentioned above, the Flymount team set about designing, engineering and producing something that would fit the bill. From the work done around windsurfing action cam mounting systems, it was recognised that a decent depth of view could be achieved by a mounting solution away from the rider. Too close and the point of view element these cameras deliver is too claustrophobic. So as with mounting GoPro/Insta360s to masts Flymount looked at mounting cameras to the wing itself. But this throws up a few potential pitfalls.
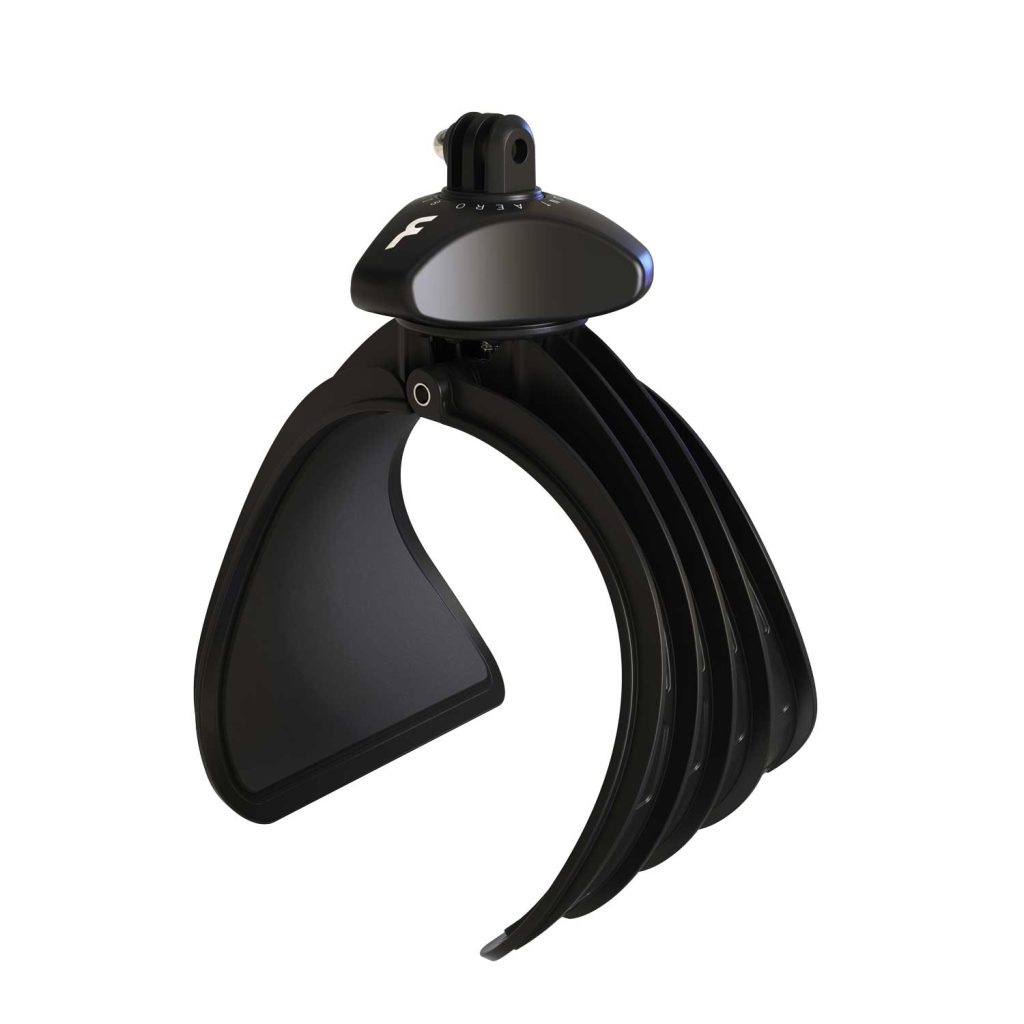
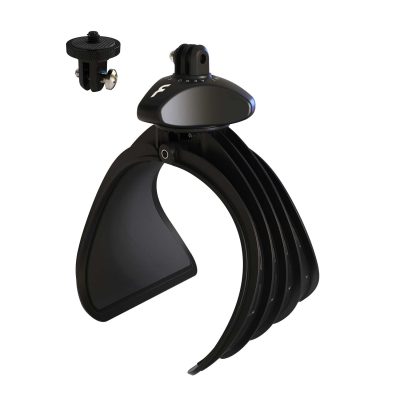
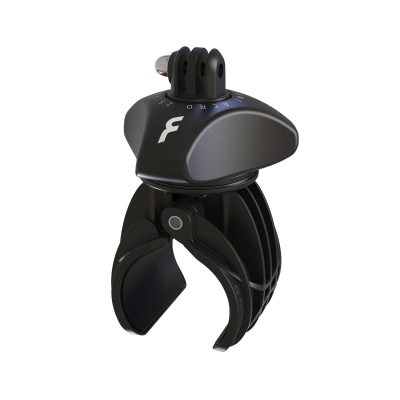
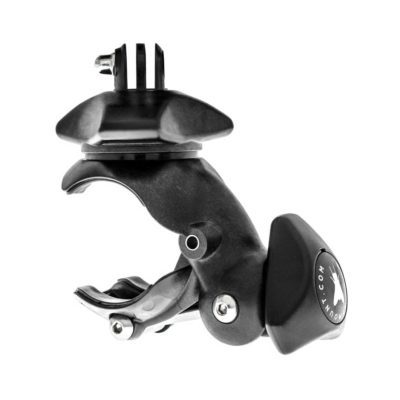
Flymount Aero-130 Ultralight Wing and Kite Camera Mount
Firstly, anything additional attached to a wing will add weight. So the Aero 130 had to be featherweight. We all know that kit takes a pounding when being ridden so robust construction was another point to address. In terms of affixing a system that wouldn’t cause damage to the wing and could accommodate different circumference sizes and allow multiple mounting points was something else to consider. Anti-corrosive materials are essential as saltwater can do a lot of damage.
And finally, any GoPro/Insta 360 wing foiling mounting system needs to be secure and safe. Losing an expensive GoPro/Insta360 or action camera is out of the question. This is why Flymount’s Aero 130 features the additional tethering of a safety leash for peace of mind (as long as riders use it!). With the finished product, we think we’ve nailed it – as do many of our customers. You can see a selection of user reviews at the bottom of the Flymount Aero 130 product listing here.
Securing your Aero 130 Flymount GoPro/Insta 360 action mount.
At the risk of labouring the point, we know there’s a tendency to not use the supplied Aero 130 safety leash. Yet keeping in mind the cost of some GoPro/Insta360 models and other action cams it’s crazy to not do so. Whilst all Flymount mounting products are rigorously tested there’s always the small chance the mount could become dislodged from the wing and disappear to the depths. Using the provided safety leash will therefore halt this as much as possible.
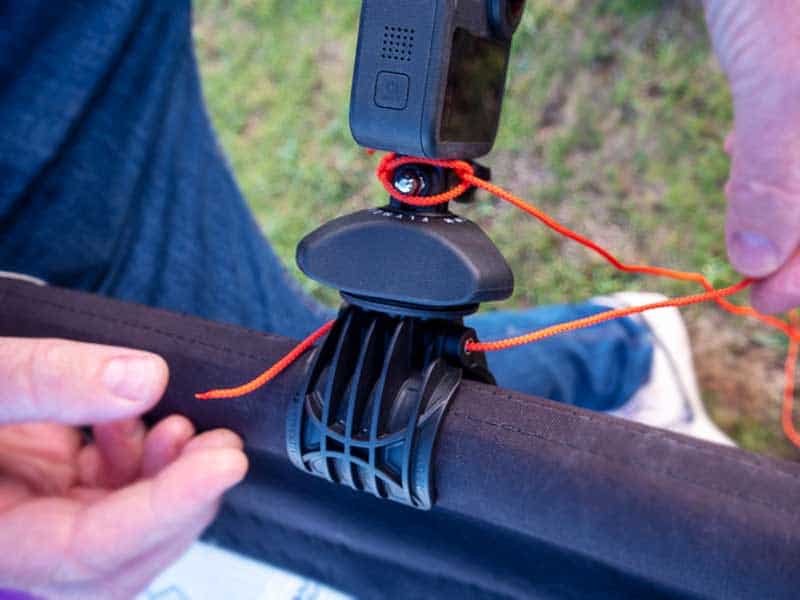
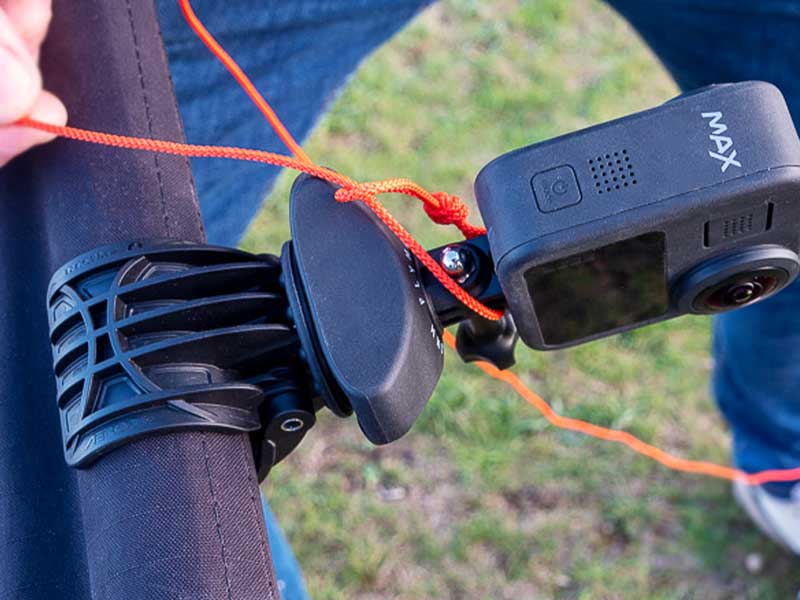
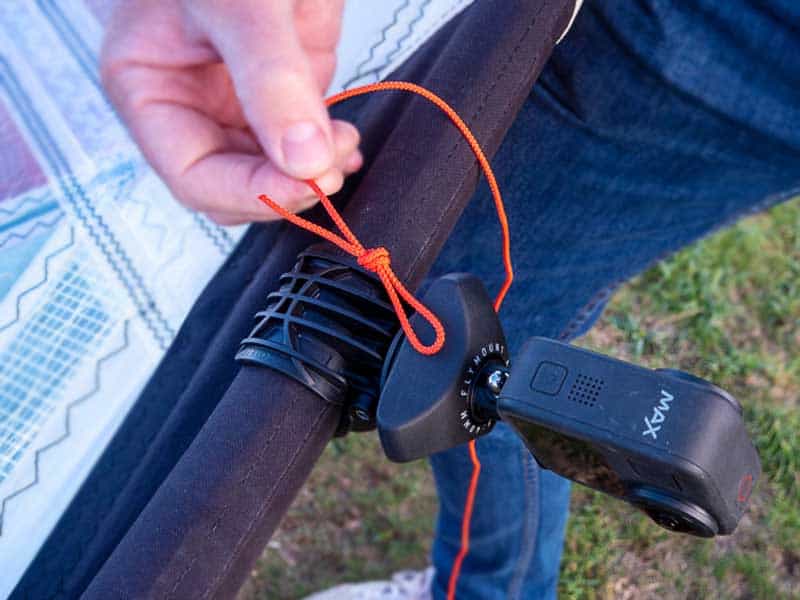
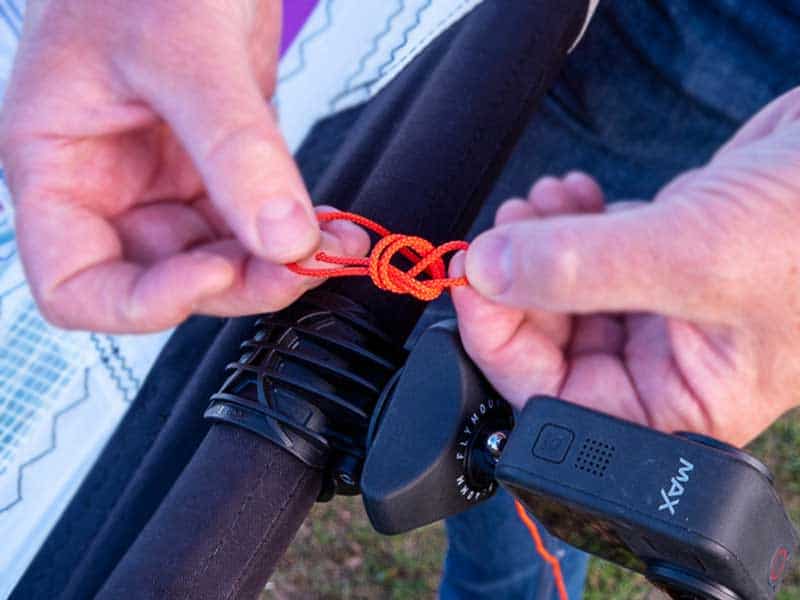
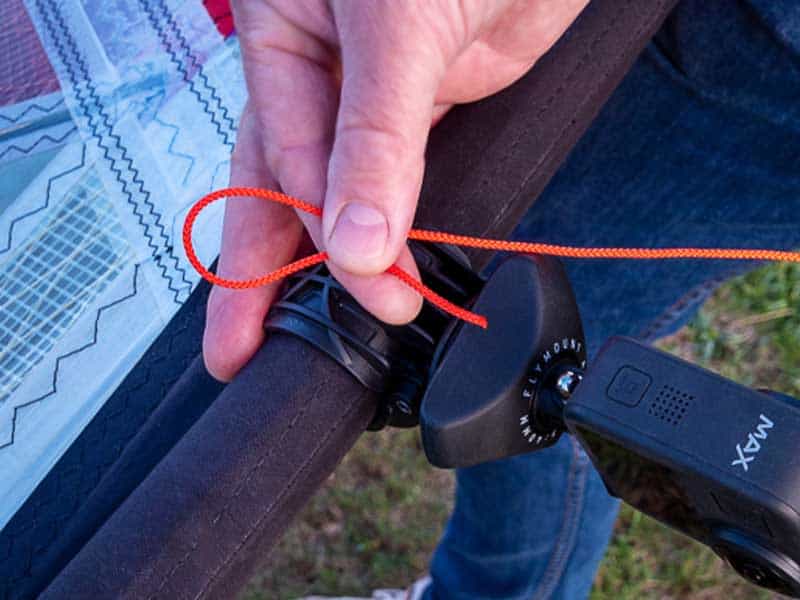
If you check out the third video down at the bottom of the Aero 130 product listing here you’ll see Stephane showing how the Flymount safety leash works. It’s super simple to fit after the mount has been secured. And we’ll reiterate again, that it’s definitely worth doing so as to not run the risk of losing your expensive GoPro/Insta360 or similar action cam.
Where to attach the Flymount Aero 130 for the ultimate wing foil shot.
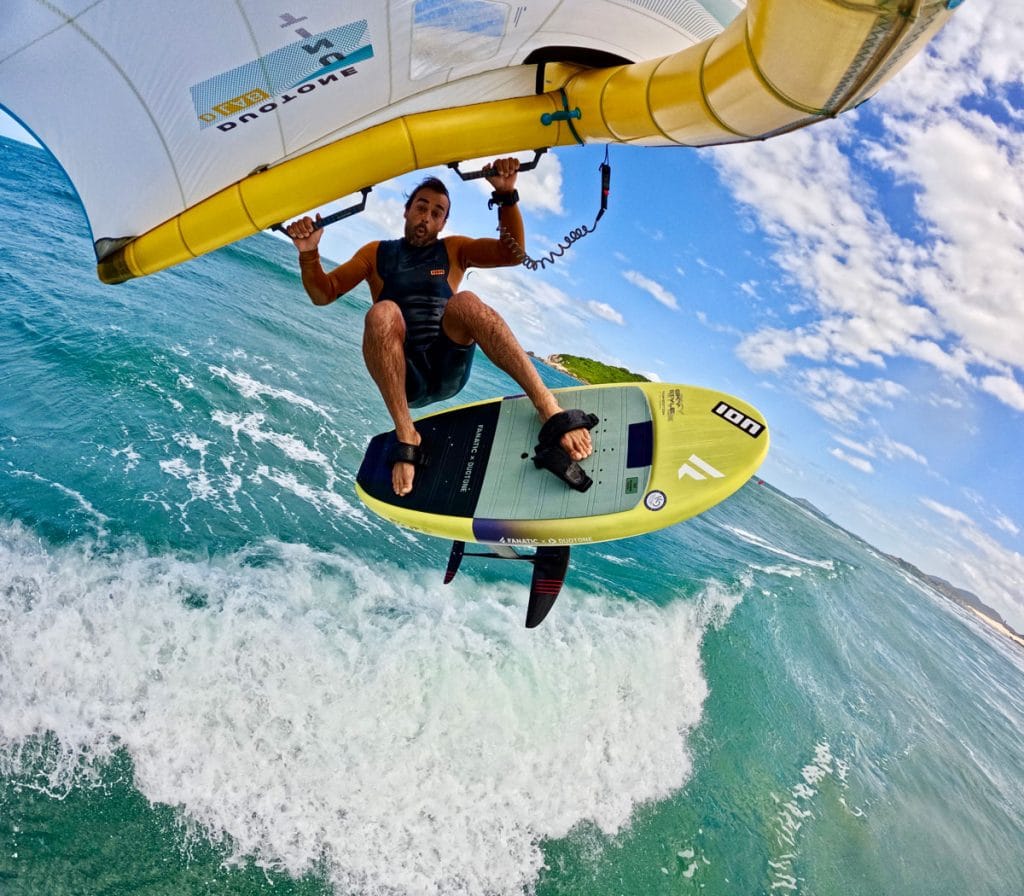
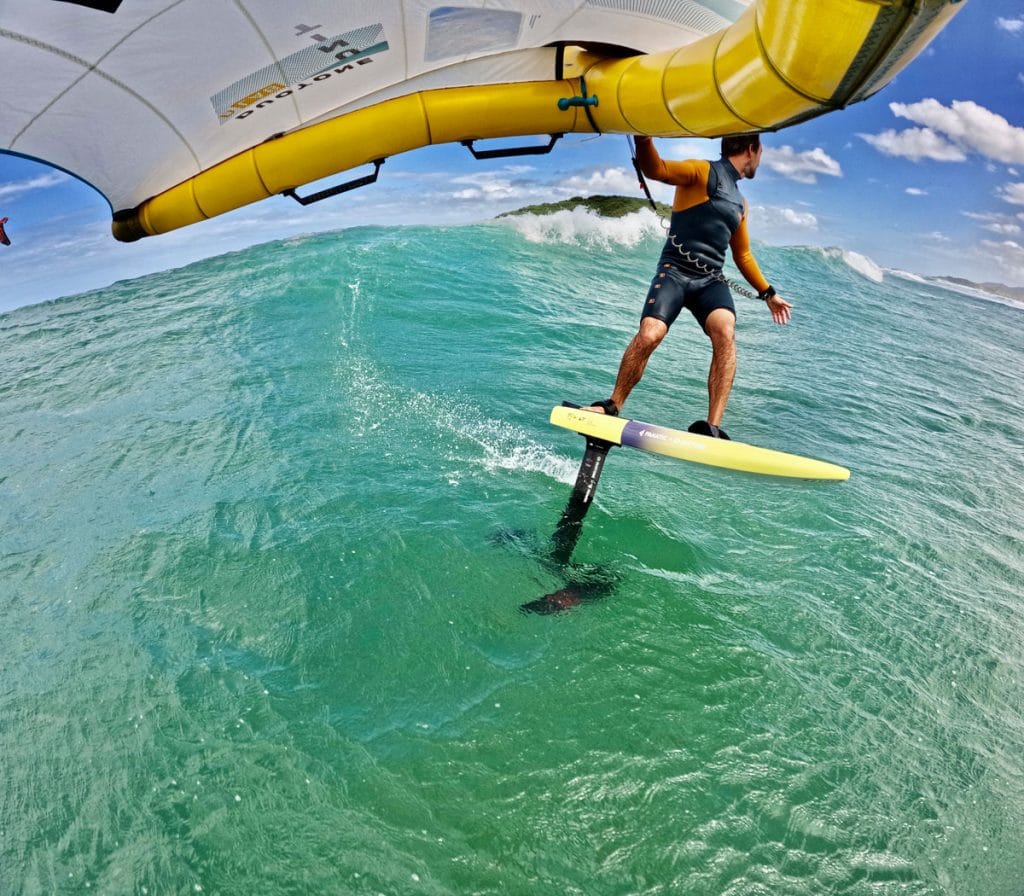
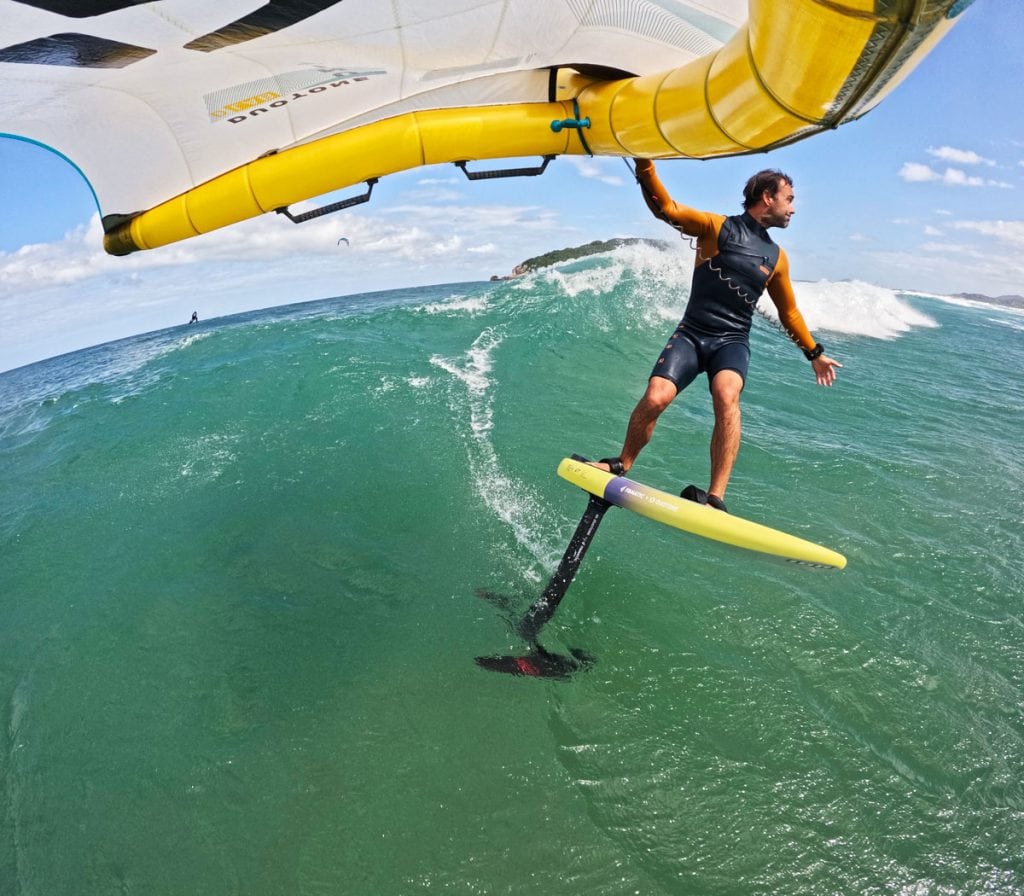
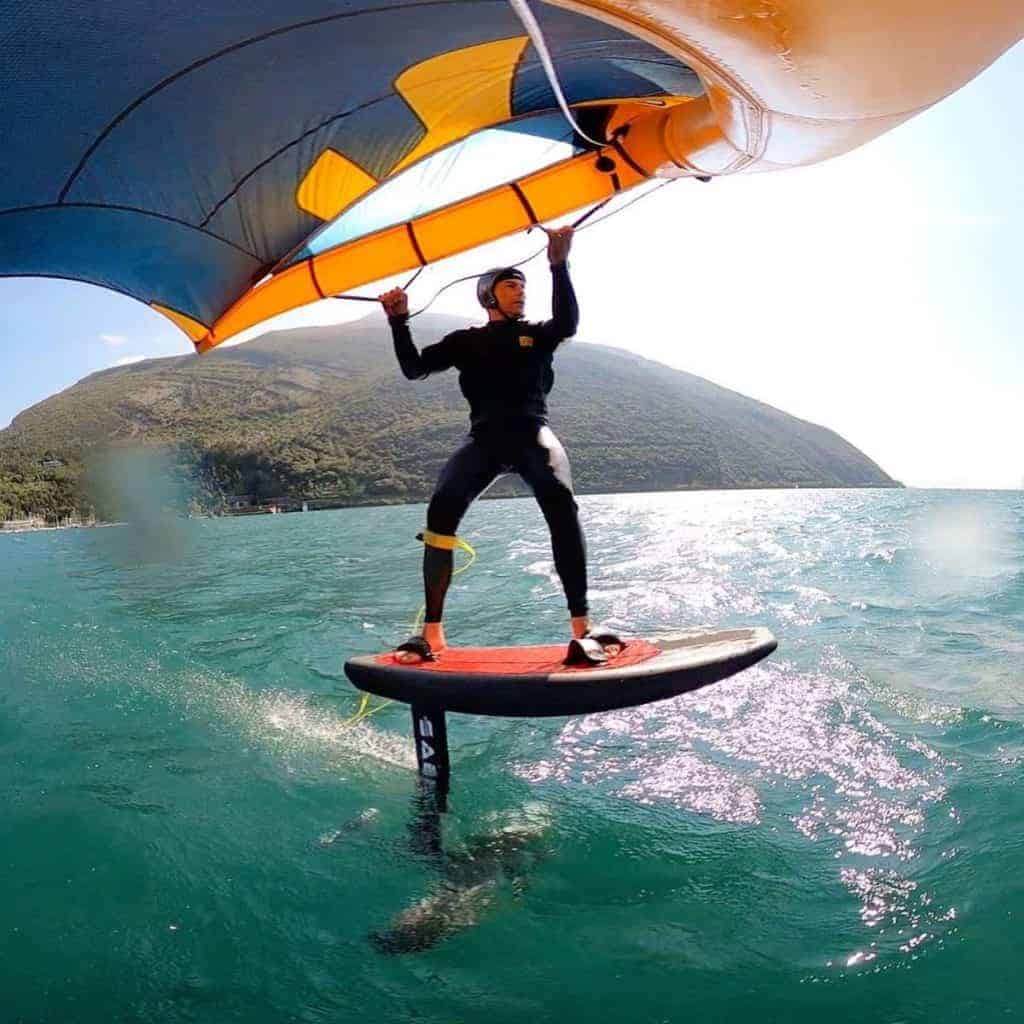
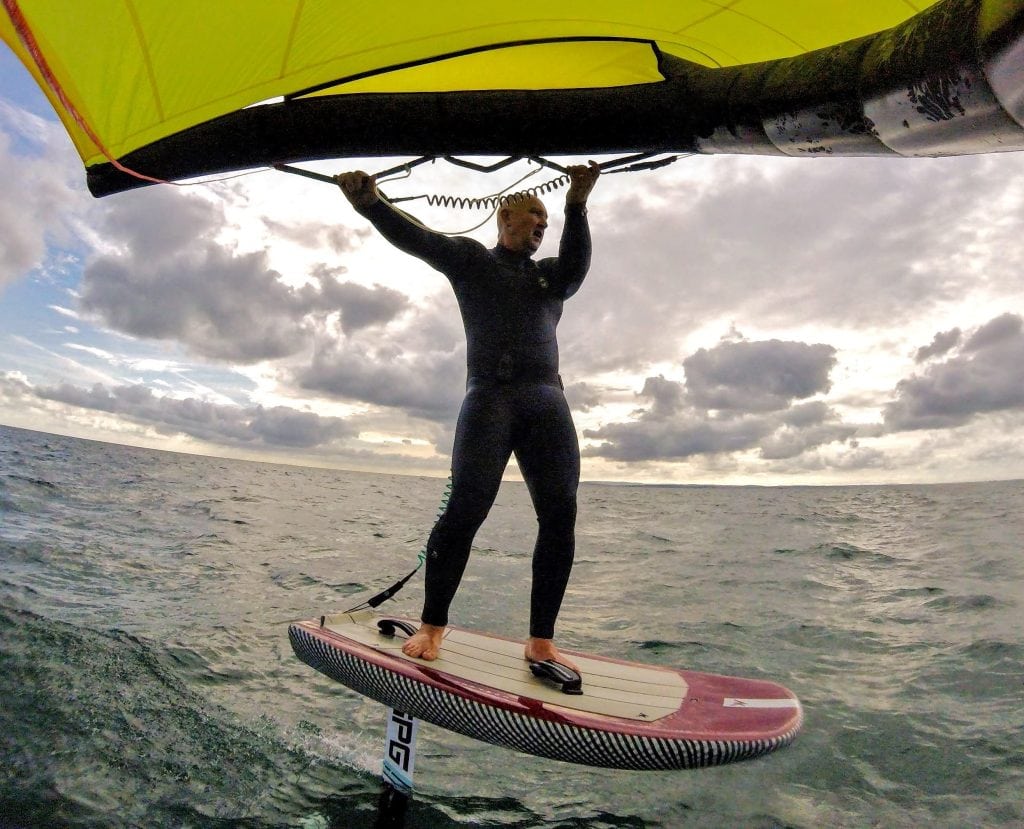
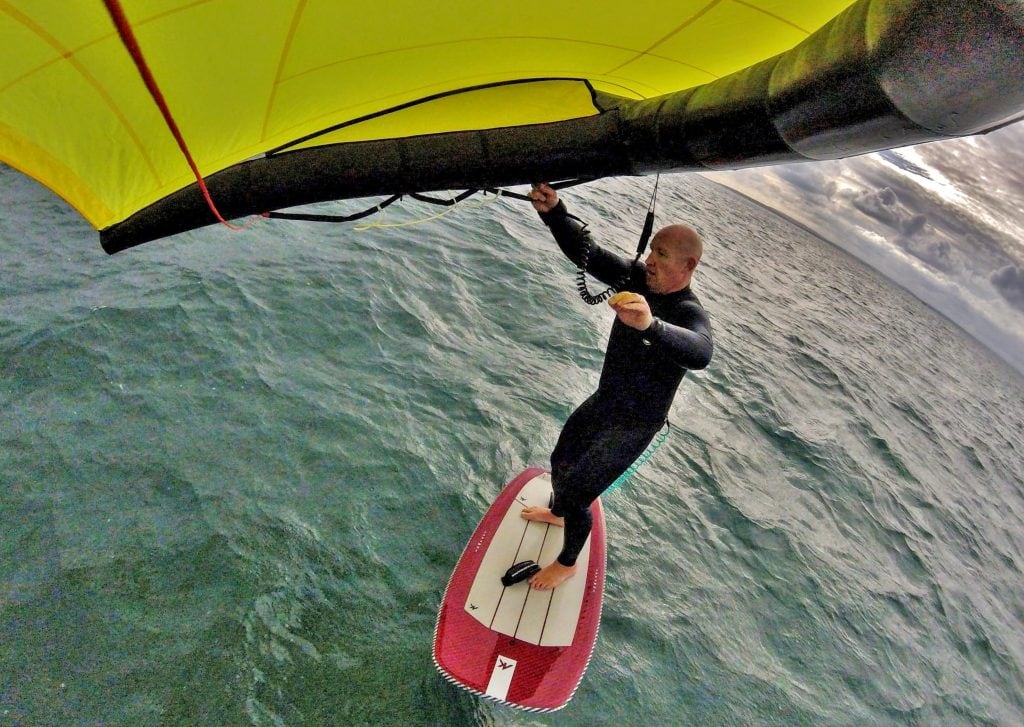
Depending where you attach the Flymount Aero 130 to your wing will dictate what type of shot(s) you’ll end up with. Each tack you sail will see a different photographic angle achieved. On each tack, your GoPro/Insta360 mount will either be positioning the camera from below or above. So for instance if you want to nail that awesome jump shot it’s probably best to mount your Aero 130 on the wing tip, that’s below, so it films up as you launch.
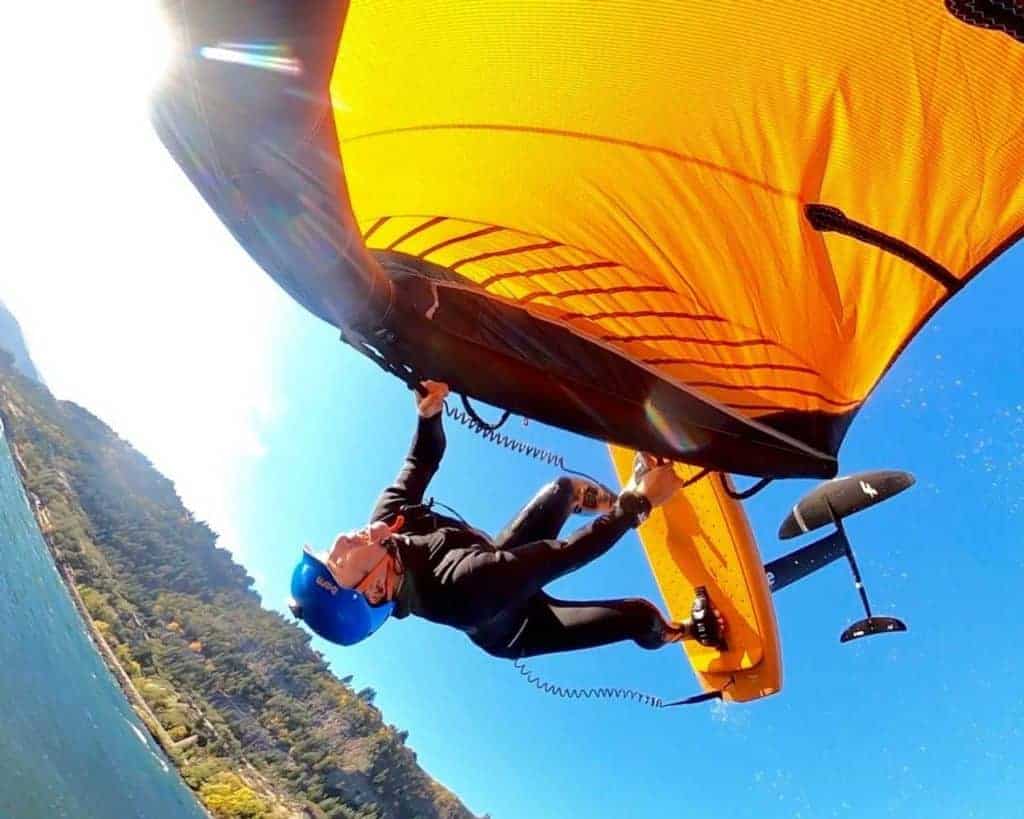
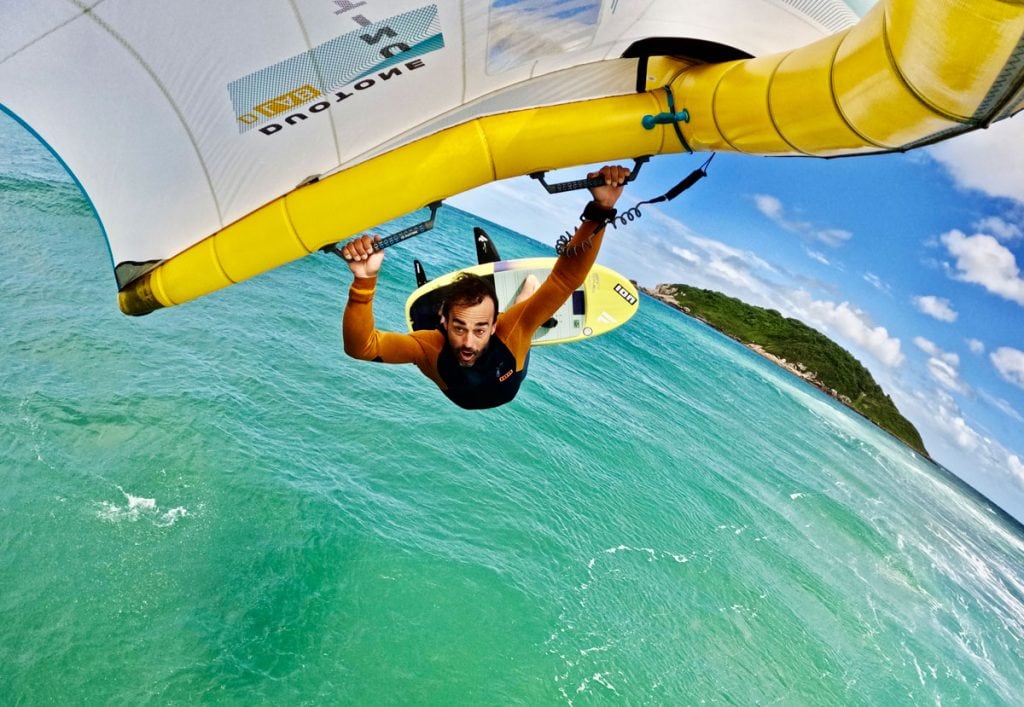
For wave riding shots, with the wing flagged out, mounting the Flymount Aero 130 on the middle strut can often yield the best results. As the wing is flat when flagged your action camera will point at the rider whilst (hopefully) on the wave. Camera tilt angles should also be played with. It may take a few sessions before you’ve ‘learned ’what works best for your riding style and the conditions you generally get. But this tinkering is a worthwhile exercise.
-

Flymount Aero-40 – Tripod Bundle
83,00 € -
Flymount Aero-130 – Tripod Bundle
85,00 € -
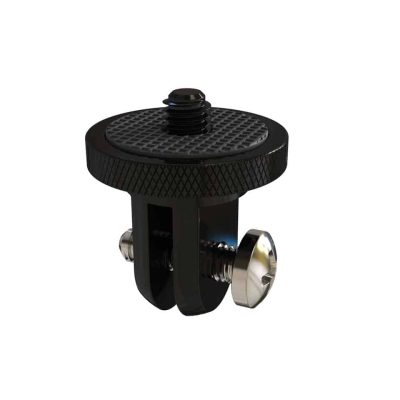
Tripod Adaptor
15,00 €
General tips for nailing awesome wing foiling GoPro/Insta360 action cam shots.
We appreciate some foilers have to take the chance of a session when they can get it. This doesn’t always work out with Mother Nature’s moods. You may end up winging under overcast skies or in the rain. All of which aren’t the best for quality point of view style action camera photos.
This all said, if possible try and pick a day when it’s bright. Sunshine, blue sky days are obviously ideal. But even a bit of sun can help. Your shots will be sharper, less fuzzy and generally more pleasing to the eye. Whilst foiling you need to take into account the close up nature of action cams. Dynamism is key so you have to almost override. Accentuating your movements and manoeuvres is therefore best practise. Keep in mind also that waves get flattened by the wider depth of field that GoPro/Insta360 style cams deliver. Don’t be too disheartened if your images aren’t picking up the true swell size.
What settings your cam should be on for wing foiling
Video is pretty obvious when it comes to filming point of view wing foiling movies. Simply hit the button and go. For images, however, it’s a different story. Your GoPro/Insta360 or action cam has multiple settings – and in almost all cases it’s the time lapse feature that works best.
This eliminates faffing with your action camera after every run. Letting your GoPro/Insta360 trigger off shots every second is how to really stomp the footage. It won’t happen every time, hence why you need to be wing foiling for a solid amount during the sessions. But hopefully, you’ll get some gold upon inspection. The only minor fly in the ointment is having to sometimes wade through thousands of images.
Editing your wing foiling photos can yield success.
Editing pics can yield some of the best success as far as POV action images go. Many riders don’t even bother – which we get. Editing is time-consuming, and in some ways even more narcissistic than shooting yourself in the first place. But it can be a good idea. Those who use GoPro/Insta360 action cams for professional reasons will do this as standard.
As an example, some photos can be too far away. And yet, having cropped in on the image the action is revealed in a more dynamic way. Suddenly that seemingly one shot (or shots) offer more interest than you initially perceived. And it can be the same when looking at things like colour balance, exposure and sharpness. Editing doesn’t need to be too long winded. But a few tweaks here and there can be worth it.
-
Factory Second Camera Mounts
60,00 € -
Flymount Aero-130 – Tripod Bundle
85,00 € -

Flymount Aero-130 Ultralight Wing and Kite Camera Mount
80,00 € -
Flymount Aero-40 – Tripod Bundle
83,00 € -
Flymount Aero-40 Ultralight Action Camera Mount
78,00 € -
Flymount Original Action Camera Mount
72,00 € -
GoPro Adaptor for Flymount Original
15,00 € -
GoPro BackDoor Replacement
18,00 € -
Kiteboard Mount for Action Cameras
18,00 €
Other common sense tips for awesome wing foiling pictures.
These may seem obvious but you’d be surprised by the amount of times the basics are forgotten. Capturing any type of shot requires a little prior planning and preparation. It’s no different when trying to nail the best GoPro/Insta360 shots.
Keep in mind the following checklist and all will be good –
- Make sure your GoPro/Insta360 or action camera is fully charged.
- Ensure your SD card is empty or has enough memory and hasn’t been left at home.
- If your action camera requires water housing then be sure to not forget it.
- Use the Flymount Aero 130 safety leash when affixed to your wing.
- Put the groundwork in prior and know what angles and settings get your best side.
- Choose a brighter or bluebird day for shooting.
- Ride dynamically and purposefully.• Smile and say cheese
Summing up the wing foiling GoPro/Insta360 action cam shooting experience with Flymount.
The main takeaway from this Flymount how-to article is to ensure you’re using the included mount/camera safety leash. We’d hate for anyone to lose their cam and this will prevent it. On from that nailing those awesome action camera photos is about ‘learning ’what works best. Experiment with your settings for a few sessions and then go for it!
Also, for those gold piccies don’t forget to share to your chosen social media platform and tag Flymount. We love to see you guys in action and just how amazing your photos can be. If you need any help or are looking for more tips then head over to the Flymount knowledge page here.
If you have any questions or queries about Flymount products or how to set up your action cam for wing foiling then get in touch here. And if you’re a beginner wing foiler then be sure to check out this article.
Recent Comments